Configuring the PowerConnect Agent UI to use SSL
Overview
The PowerConnect Cloud web ui can be secured with SSL. As of PowerConnect Cloud version 2.1.0 an external web server is no longer required. Follow the steps below relevant to your environment.
Local Web Server
As of PowerConnect Cloud 2.1.0 SSL is supported natively by the local web server as part of the software. The enable SSL for the PowerConnect web ui:
Obtain a pem file containing the private key and certificate for the host where the PowerConnect Cloud agent is running
Login to the PowerConnect Web UI, click the Configuration tab then click Certificates
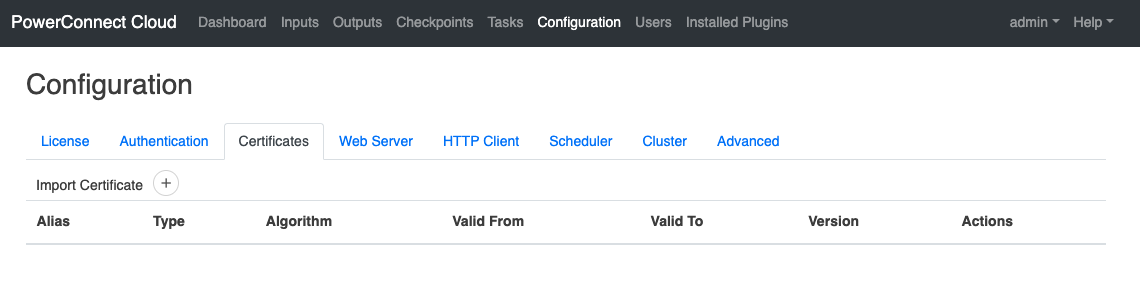
Click the Import Certificate button
Give the certificate an alias and then click Choose file and select the pem file containing your private key and certificate
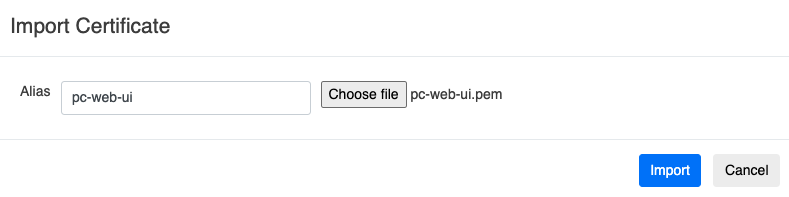
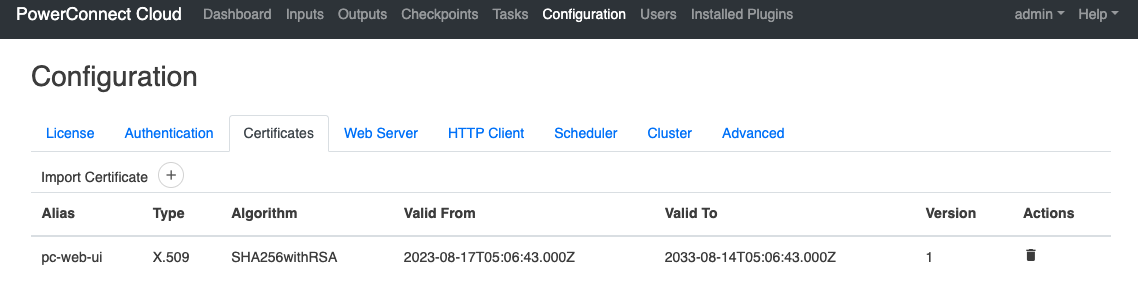
Click Import and you should see your newly imported certificate in the Certificates table
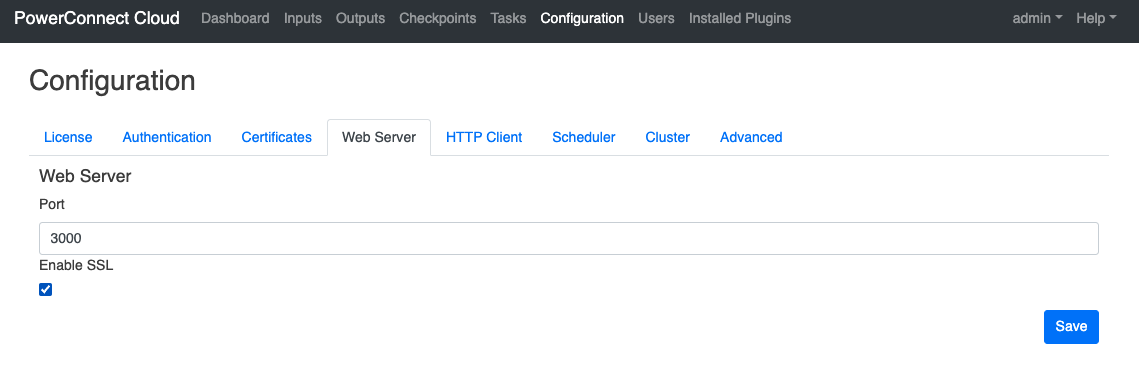
Click the Web Server tab
Check the Enable SSL checkbox and click Save
Restart the PowerConnect Cloud agent
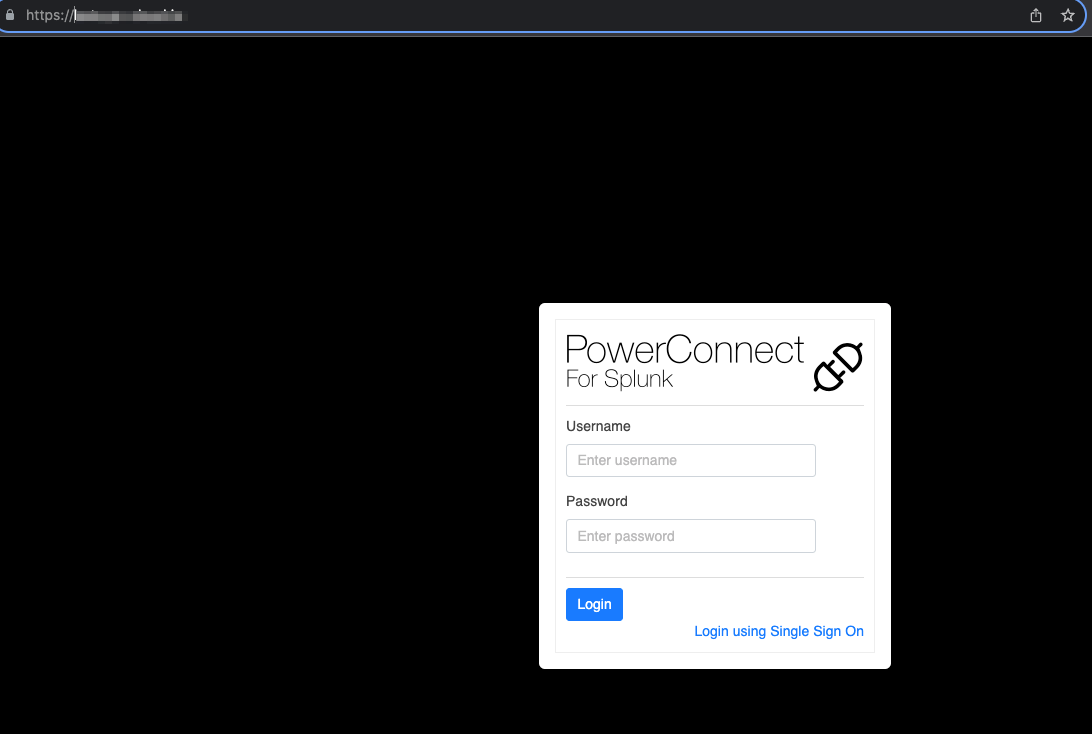
The PowerConnect Cloud agent web ui should now be accessible over SSL
AWS
In AWS we can use an Elastic Load Balancer (ELB) to perform the SSL offload and secure the PowerConnect web ui:
Generate a SSL certificate using ACM or another certificate provider
Create an ELB
Login to your AWS account
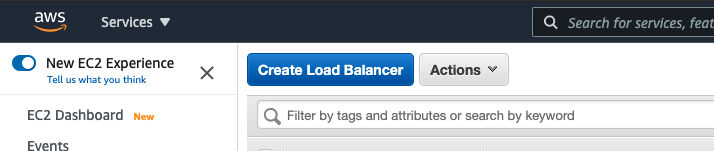
Browse to the EC2 service
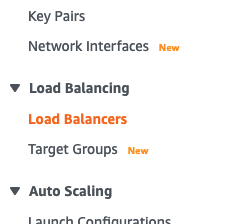
In the menu on the left choose Load Balancers
Click the Create Load Balancer button
Click Create in the Application Load Balancer section
Give the ELB a name, choose HTTPs as the listener and pick which VPC and availability zones to create the ELB in
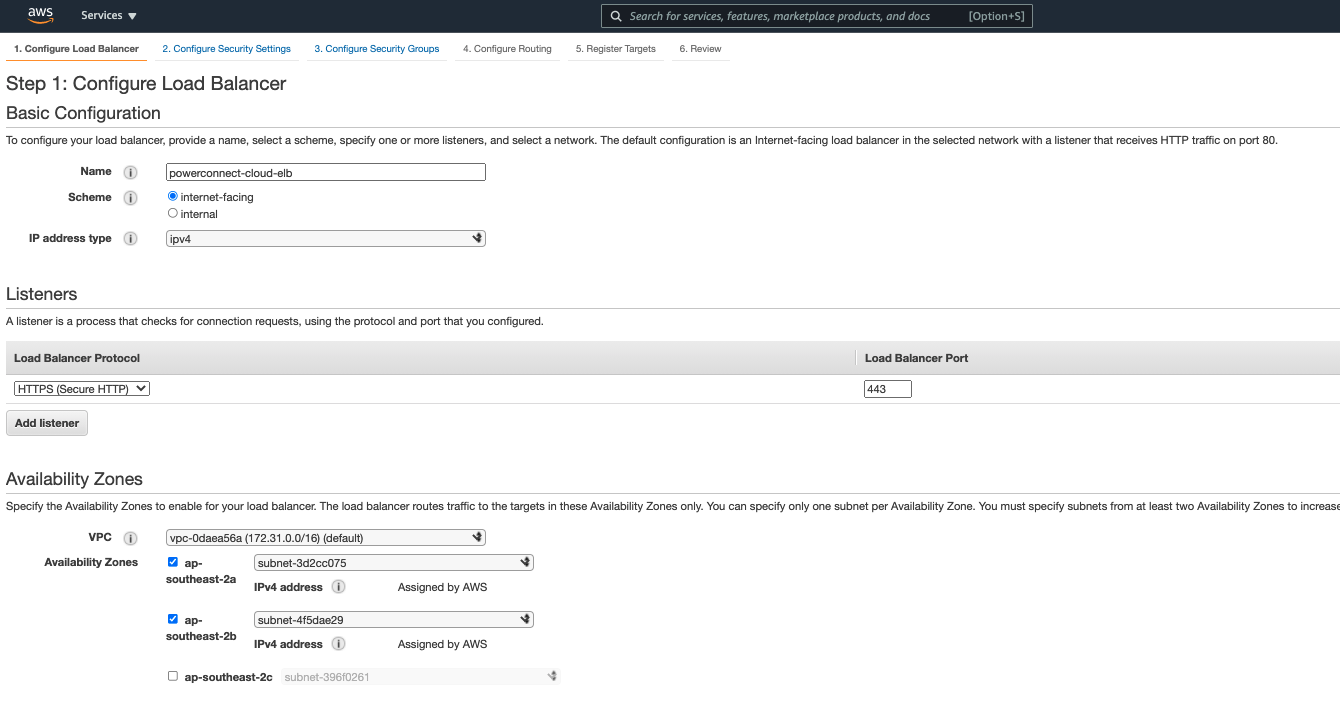
Click Next
Choose the certificate you created earlier (either through ACM or by uploading) and the Security Policy (ELBSecurityPolicy-2016-08 is the default)
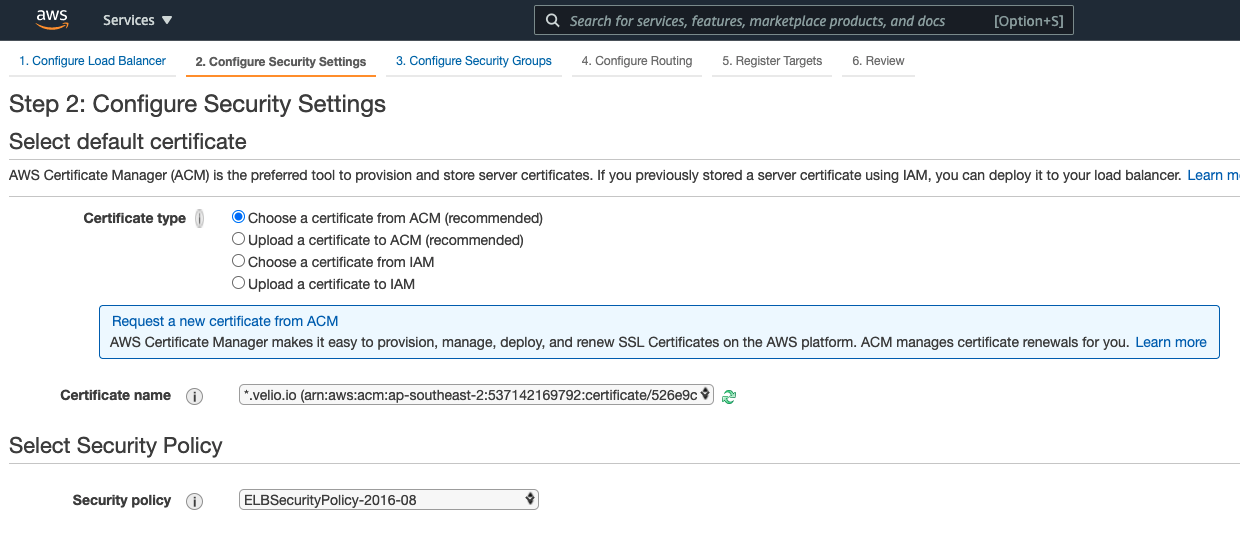
Click Next
Create a new security group which allows inbound https traffic on port 443
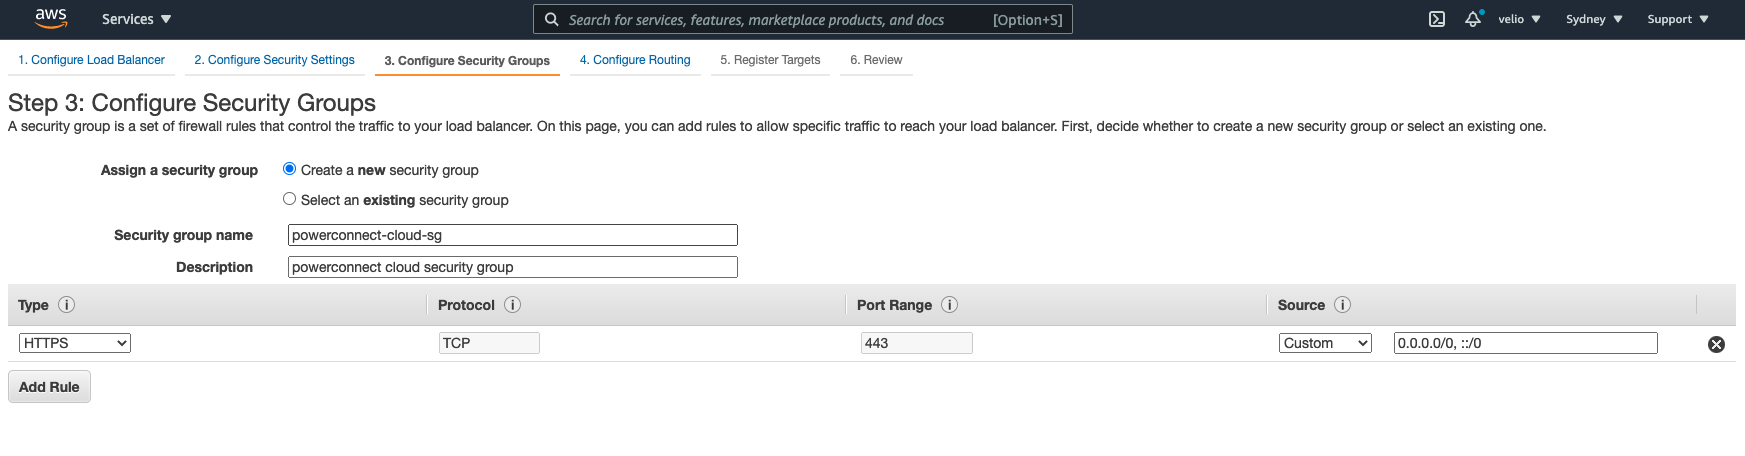
Click Next
Create a new Target Group
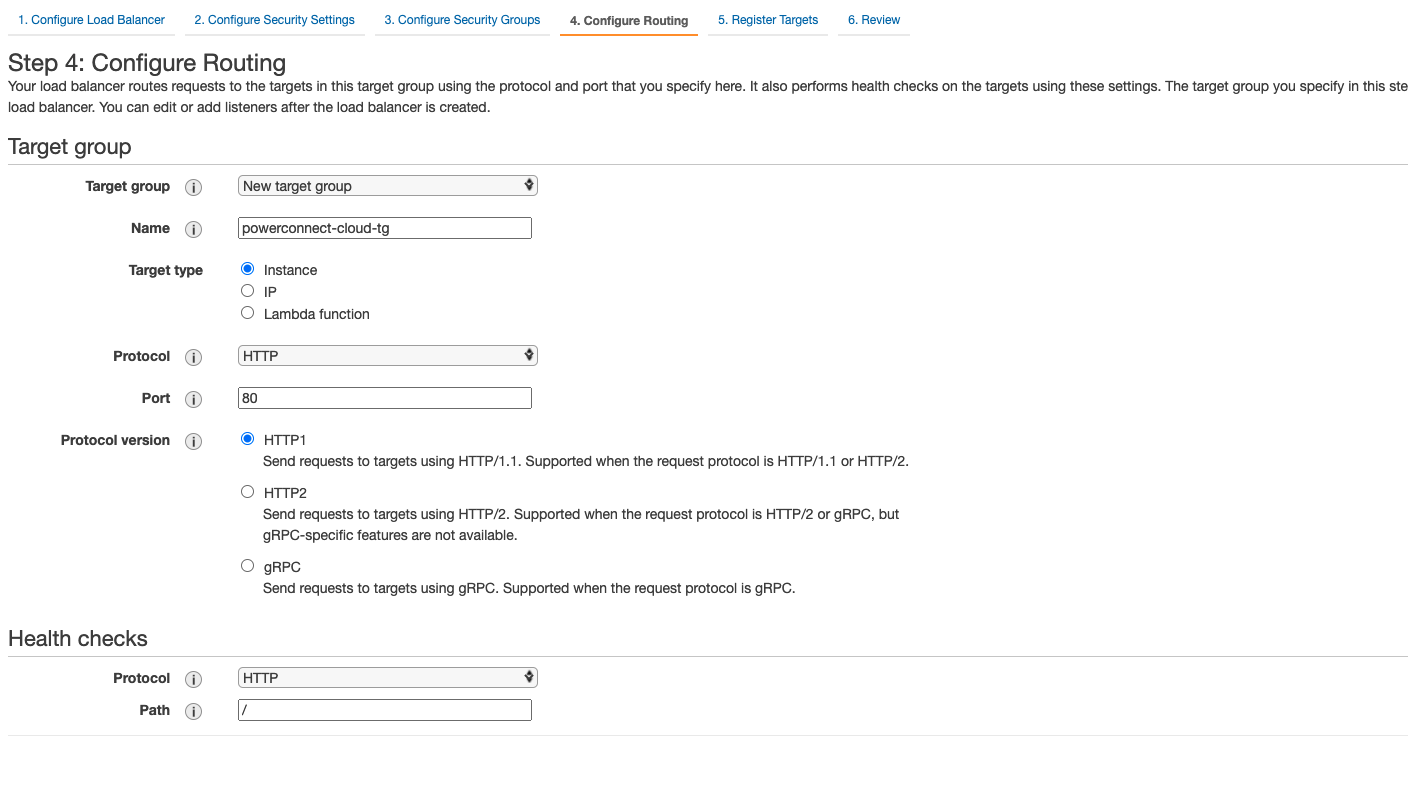
Click Next
Add the PowerConnect Cloud instances to the registered targets using port 3000
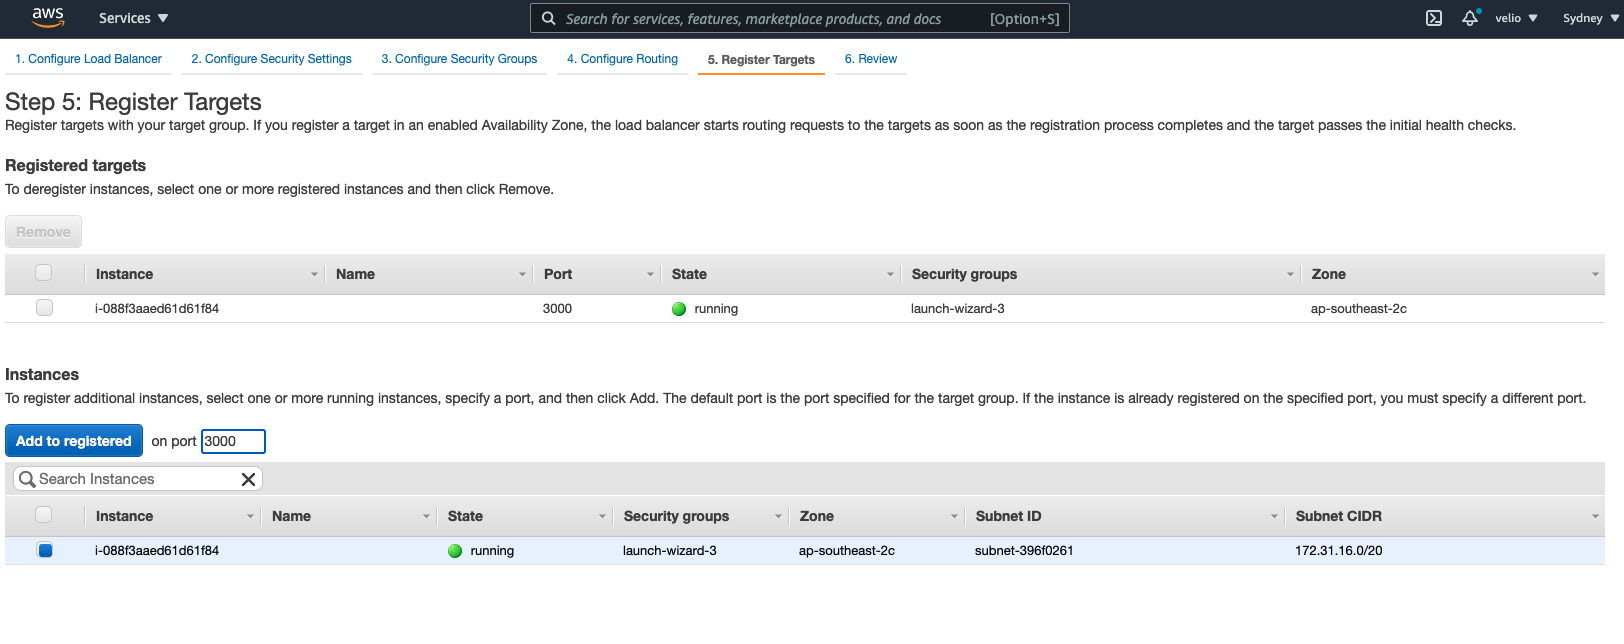
Click Review then Create and the infrastructure should then be provisioned
The PowerConnect web ui should now be available on https://<your-elb-address>
Azure
In Azure we can use an Application Gateway to perform the SSL offload and secure the PowerConnect web ui:
Generate a SSL certificate using a certificate provider
Create an Application Gateway
Login to the Azure Portal
Click Create a resource
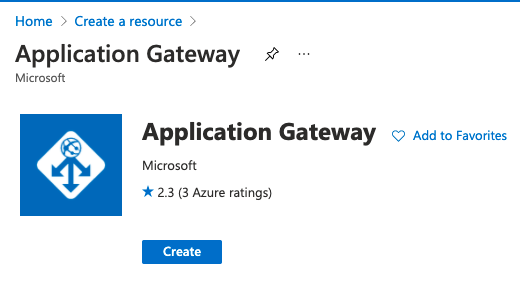
Search for Application Gateway then click Create
Fill out the details including the Application gateway name and min and max instance count. Either choose and existing Virtual network for the application gateway to reside or create a new one:
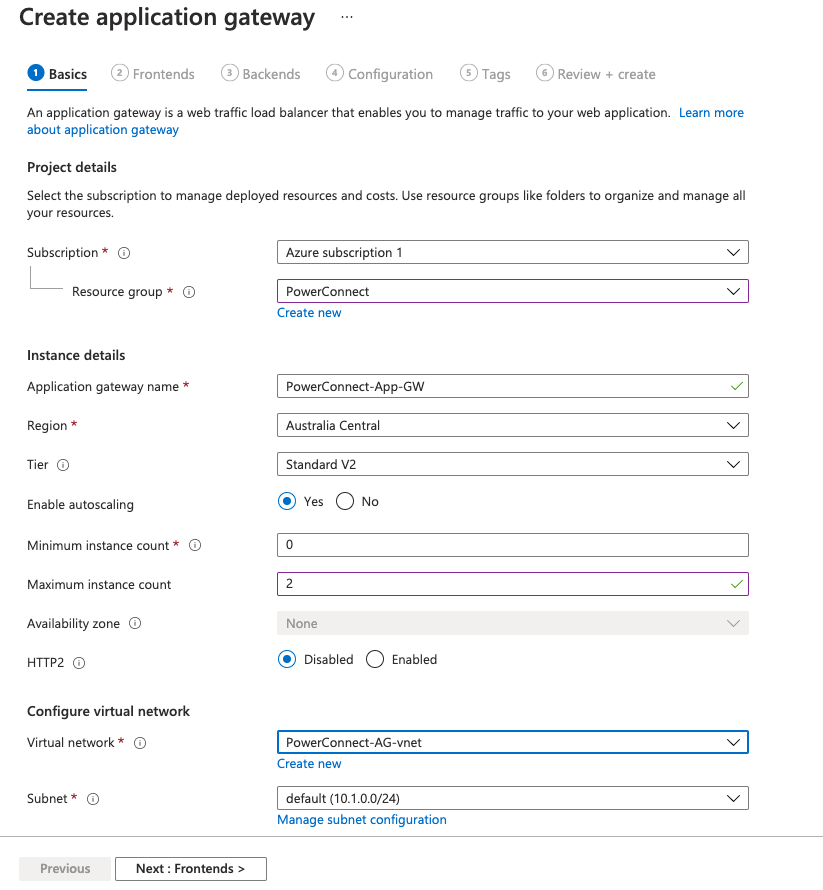
Click Next
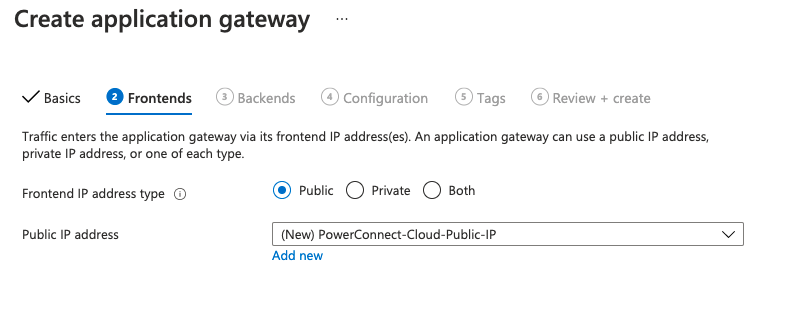
Add new new public/private ip address (depending on UI access requirements):
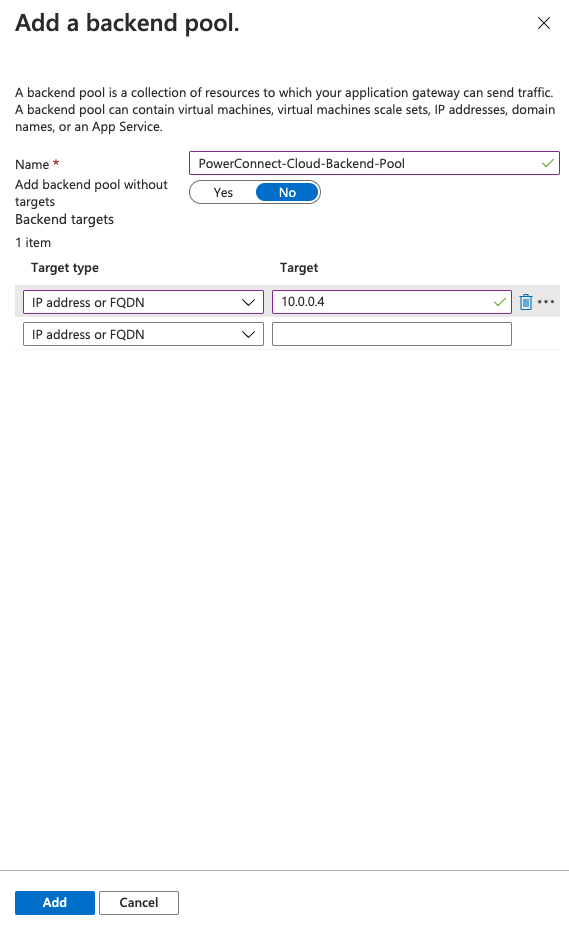
Add a new backend pool for the PowerConnect Cloud virtual machines. Add each server ip or virtual machine running PowerConnect Cloud to the targets:
Click Add then click Next
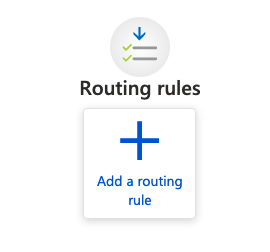
Clikc Add a routing rule
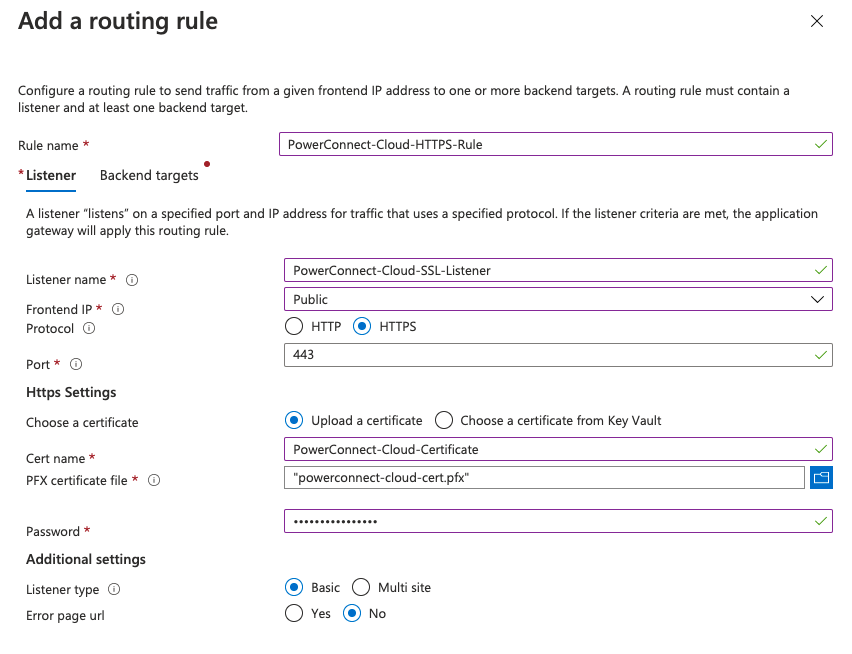
Create a HTTP listener and rule for PowerConnect Cloud. Upload or choose a SSL certificate from the Key Vault:
Click Backend targets
Choose the backend pool created previously:
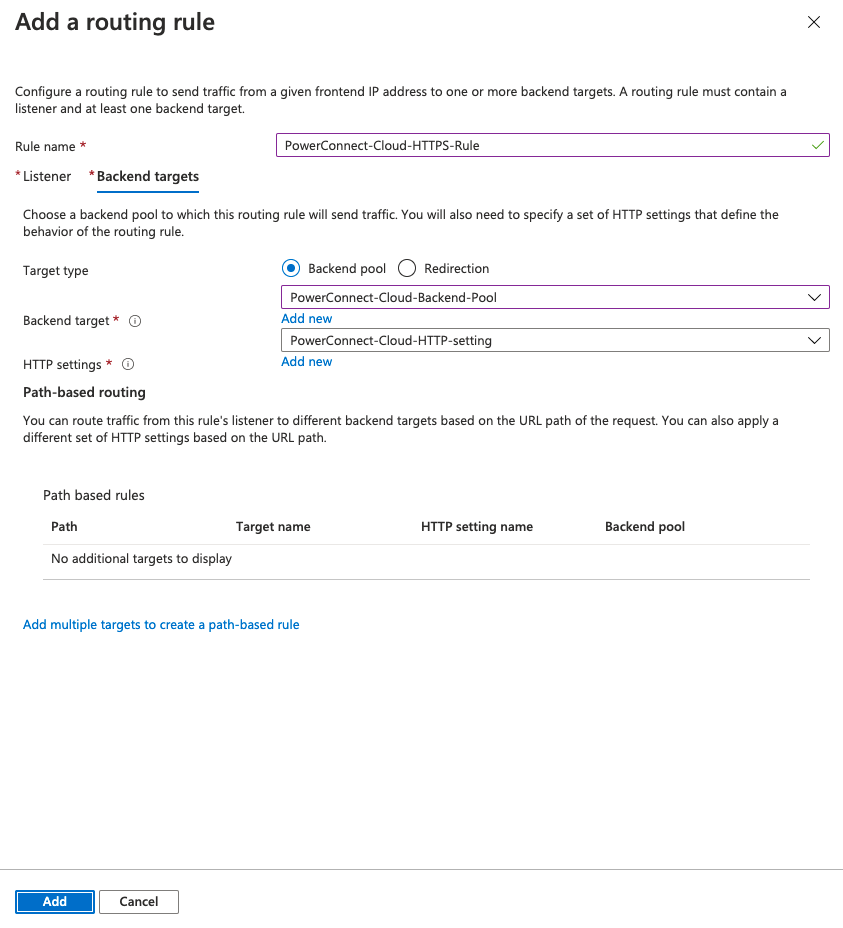
Add a new HTTP Setting. By default the PowerConnect UI listens on port 3000:
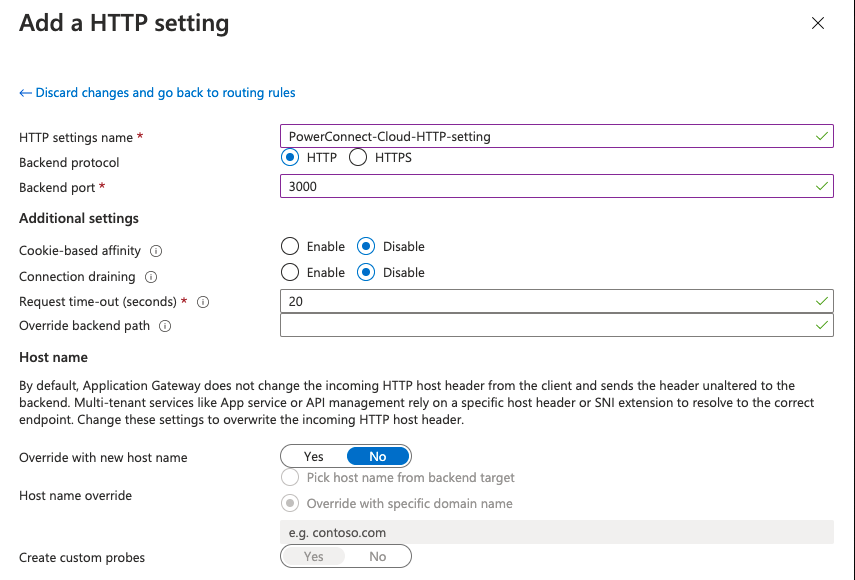
Click Add
Click next and add any tags
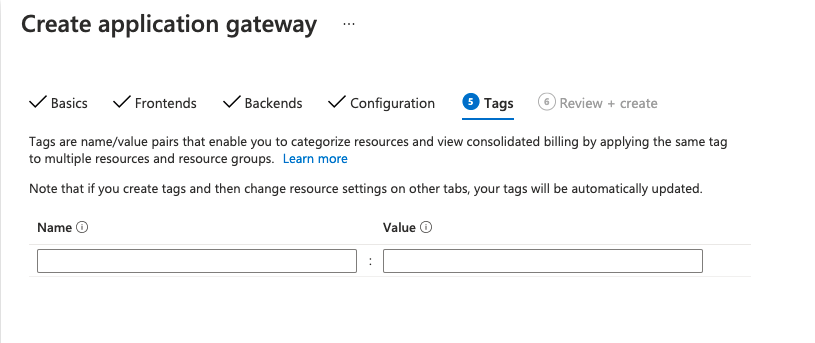
Click Next
The validation should pass:
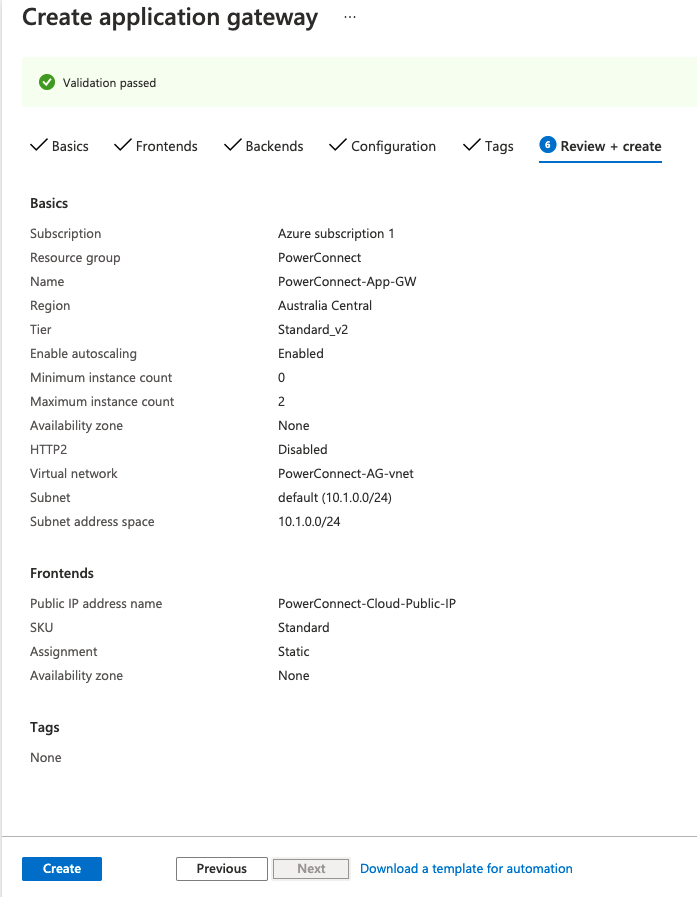
Click Create to create the Application Gateway. The resources will now be deployed.
Find the public ip address of the Application Gateway you just created and browse to it over HTTPS.
The PowerConnect UI should appear: