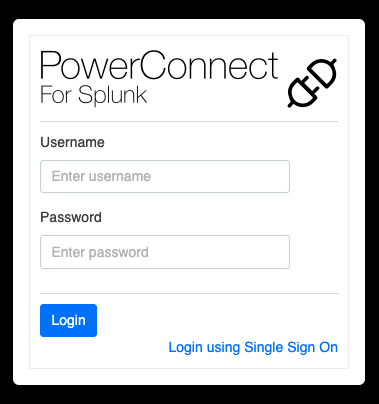
Configuring the PowerConnect Cloud Web UI for Single Sign On
Overview
The PowerConnect Web UI can leverage single sign for user logins and role mapping. Any provider supporting SAML should work however the functionality has been tested with:
Okta
Google Workspace
Configuration
In order to configure SAML integration with PowerConnect Cloud three pieces of information are required:
Assertion Consumer Service URL (ACS URL) - this is the URL where the PowerConnect Cloud agent is accessed by your SAML provider to initiate the login with /saml/login appended to it e.g. https://powerconnect-cloud-host/saml/login
Identity Provider URL (IdP URL) - this is the SAML provider URL
Identity Provider Certificate - this is the certificate of the SAML provider
Follow the instructions from your authentication provider to get these values. An Okta example is provided below.
Configuring Okta
Login to the Okta console
In the menu on the left click Groups under the Directory header
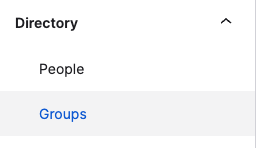
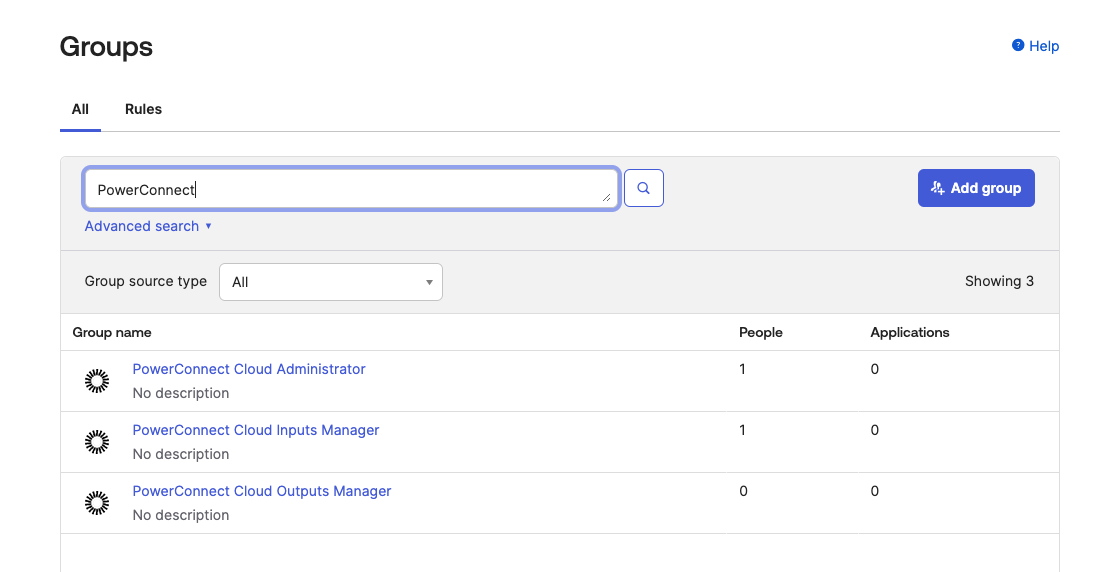
Click Add Group and create a group for each of the PowerConnect Cloud roles - Administrator, Inputs Manager and Outputs Manager
In the menu on the left click Applications
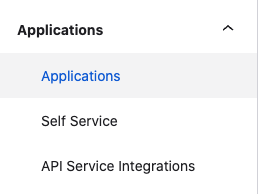
Click Create App Integration and choose SAML 2.0
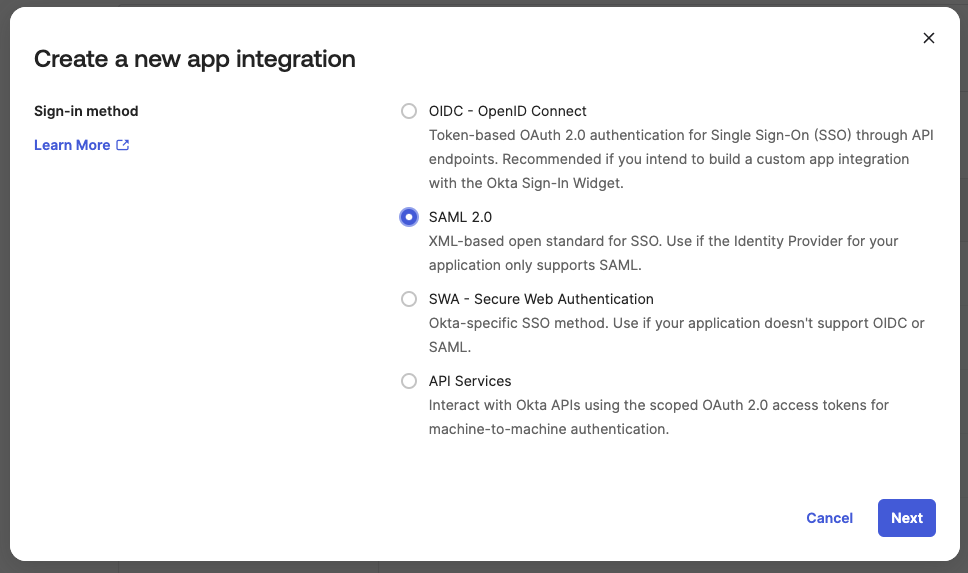
Click Next
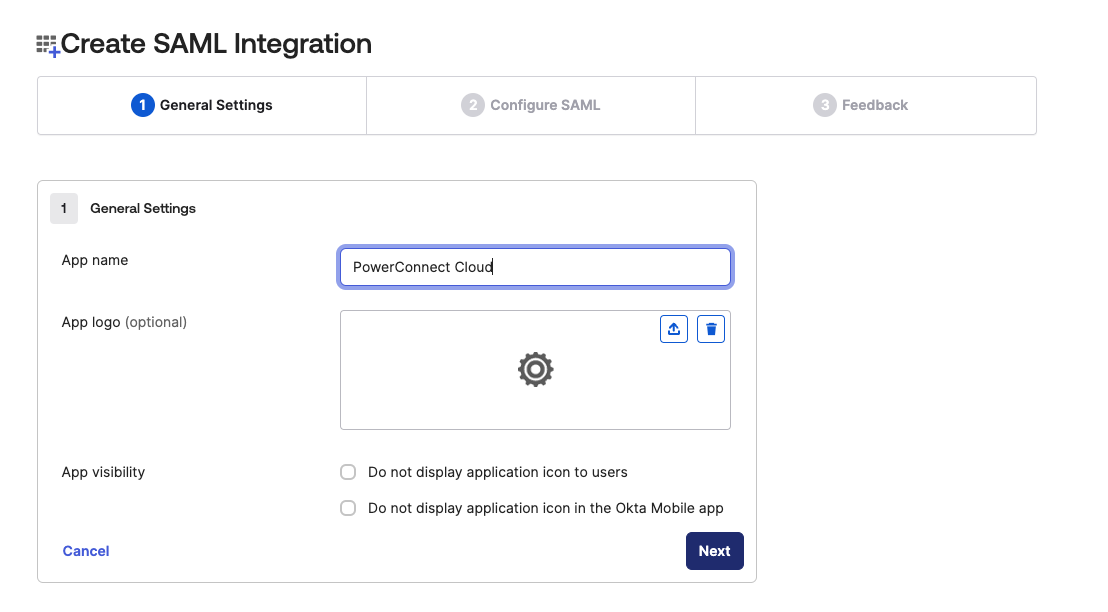
Give the application a name (e.g. PowerConnect Cloud) and click Next
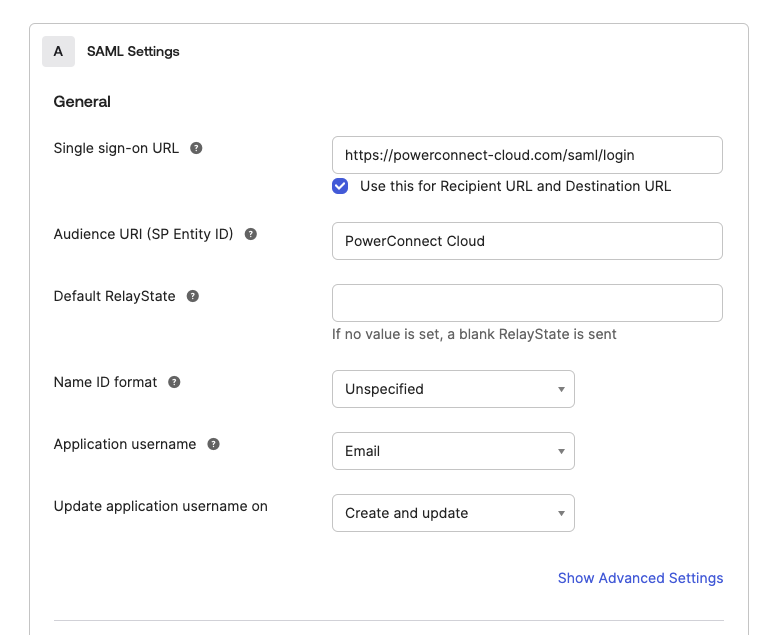
Fill out the details in the form:
Single sign-on url - this should be the url of the PowerConnect Cloud UI with /saml/login appended to it
Audience URI - this should be PowerConnect Cloud
Application username - this can be set to the email address attribute or the user id attribute of the user in Okta
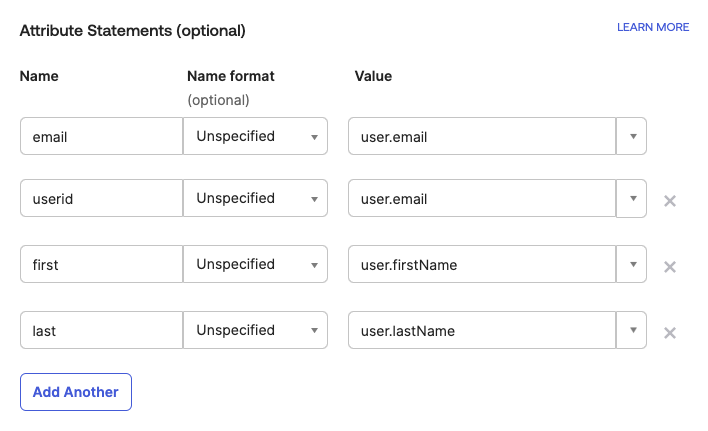
Create the attribute mappings - this maps the user attributes in Okta to the user attributes in PowerConnect Cloud
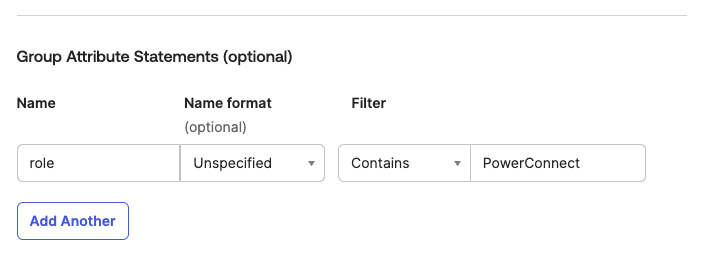
Create the Group Attribute mappings - this maps the Okta Groups to the PowerConnect Cloud Roles using the role attribute. Make sure the filter matches the group names you created previously
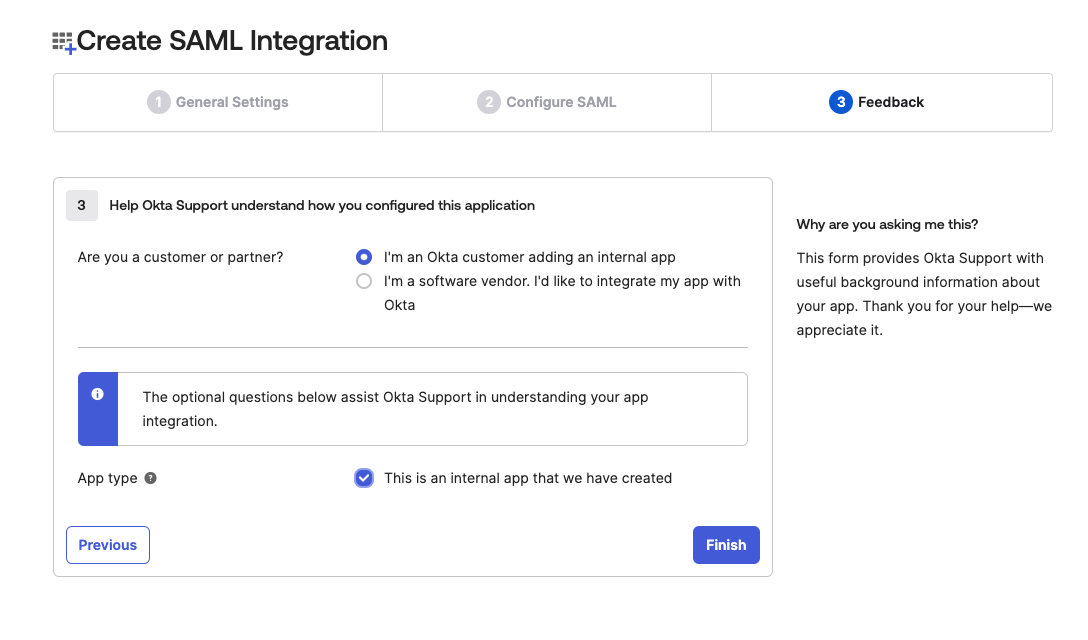
Fill out the Feedback form and click Finish
Under Sign On copy the Metadata URL for your newly created app
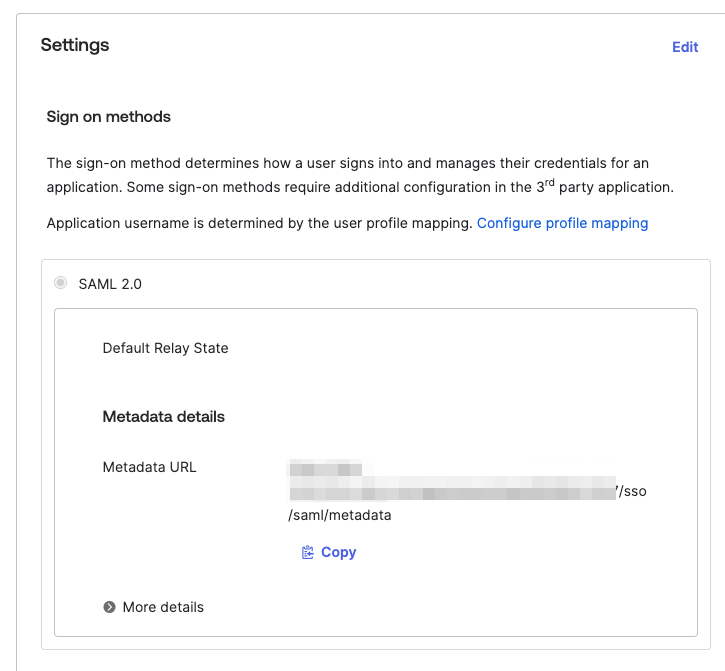
Open the URL in your web browser
Copy the contents of the X509Certificate xml element - this will be used in the certificate setting in the PowerConnect Cloud UI

Copy the conents of the SingleSignOnService element - this is the IdP url setting in the PowerConnect Cloud UI

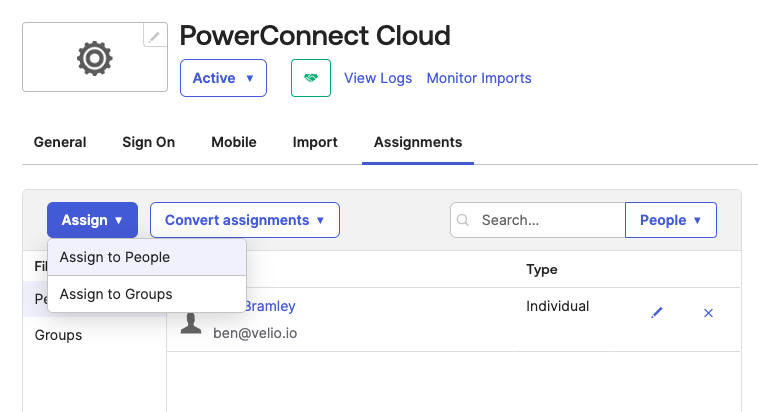
Add any users you wish to have access to the PowerConnect Cloud UI using the Assignments tab and clicking Assign → Assign to People
Configuring SAML support in PowerConnect Cloud
Login to the PowerConnect Cloud Web UI
Click on the Configuration tab and then click Authentication

Under the SAML section check the Enable SAML checkbox to enable the SAML integration
Fill out the details from your SAML provider
The ACS URL is the PowerConnect Cloud UI URL with /saml/login appended to it
The IdP URL is the url of the SAML provider - in Okta it can be found in the XML metadata data collected in the section above
The IdP Certificate is the base64 encoded certificate of the SAML provider - in Okta it can be found in the XML metadata data collected in the section above
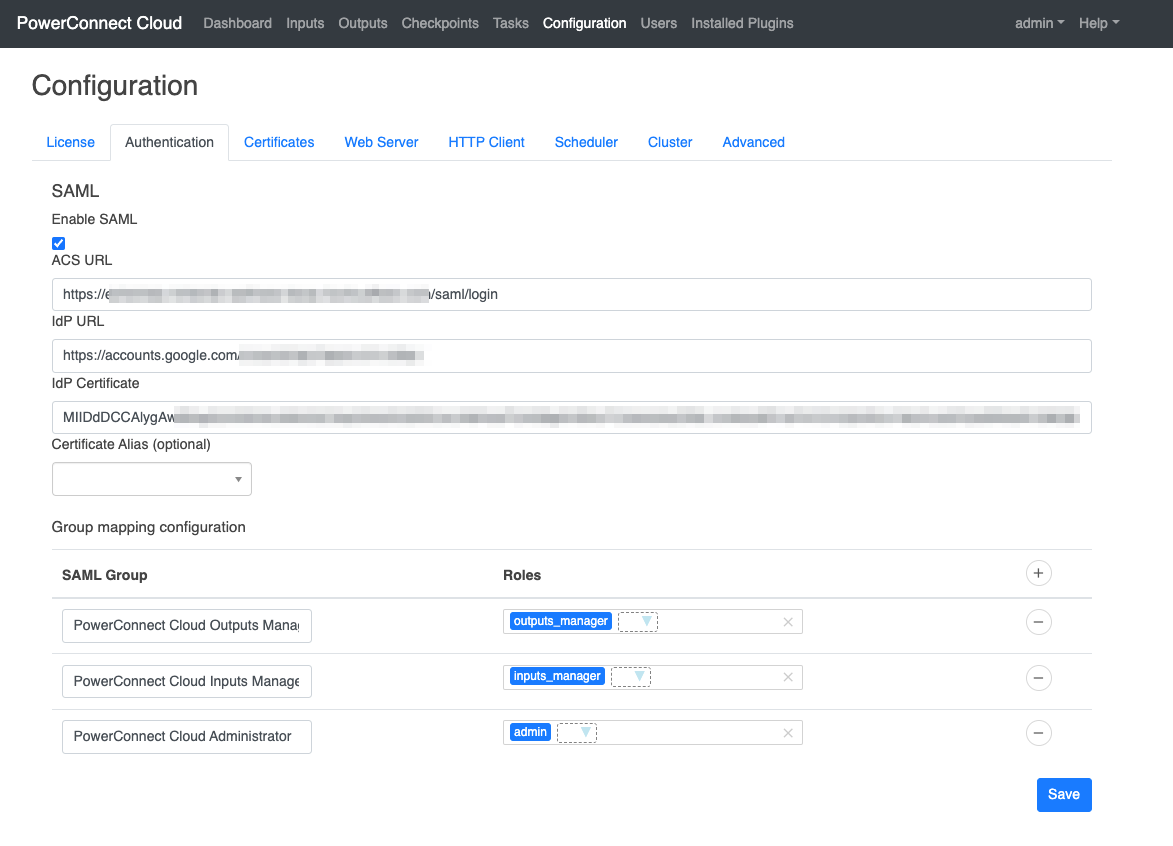
Perform the role mapping to map the PowerConnect Cloud groups you created in your SAML provider to the local groups that exist in the PowerConnect Cloud software
Click Save
User’s that are added to the PowerConnect Cloud SAML groups can now login from the PowerConnect Cloud login screen by clicking the Login using Single Sign On link
