KB 151 - Update SSL Certificates
KB 151 (ABAP): Update SSL Certificates
Category: Information | Priority: Normal |
|---|---|
Platform: ABAP | Version: 1 from 23.03.2021 |
Description
SSL certificates expire on a periodic basis. The validity of the SSL certificate used to establish a secure connection between SAP and Splunk can be viewed via the STRUST transaction. Since the SSL certificates expire on a periodic basis, they need to be updated periodically. Obtain a new SSL certificate from your Splunk Administrator using the following document: Configure SSL in Splunk (Recommended) . Once the updated certificate is obtained, update the SSL certificate in the SAP system please follow the steps below:
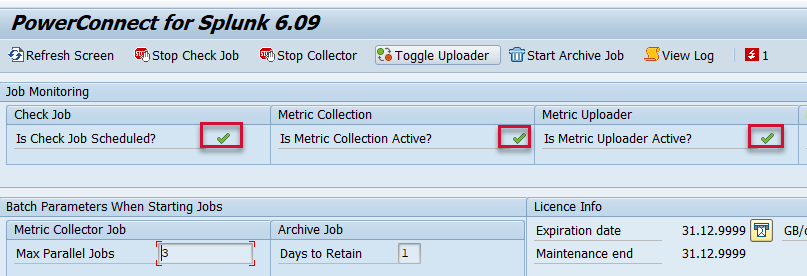
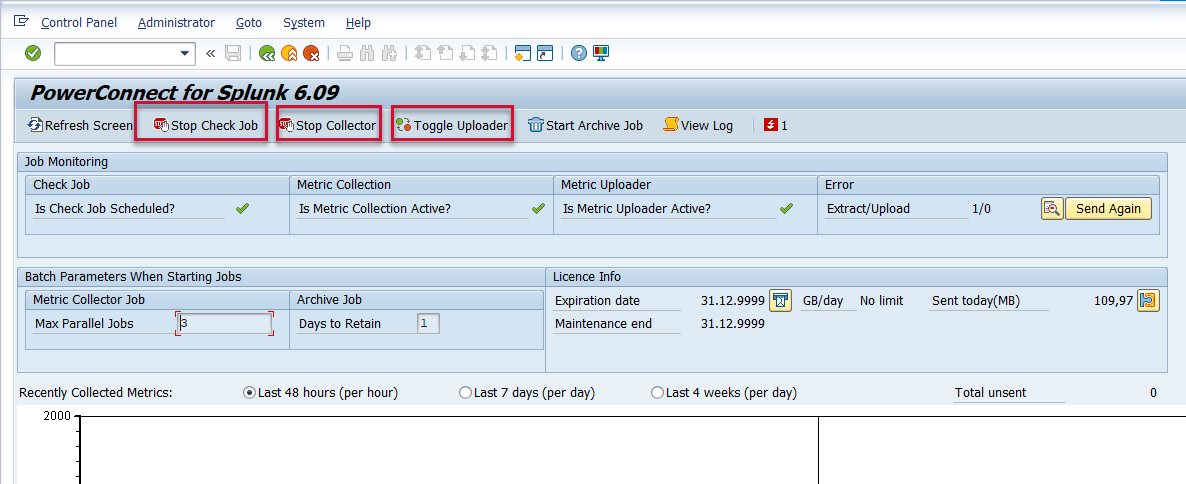
Go to the PowerConnect administrative console in the productive client using the /n/bnwvs/main transaction, and stop the PowerConnect batch jobs
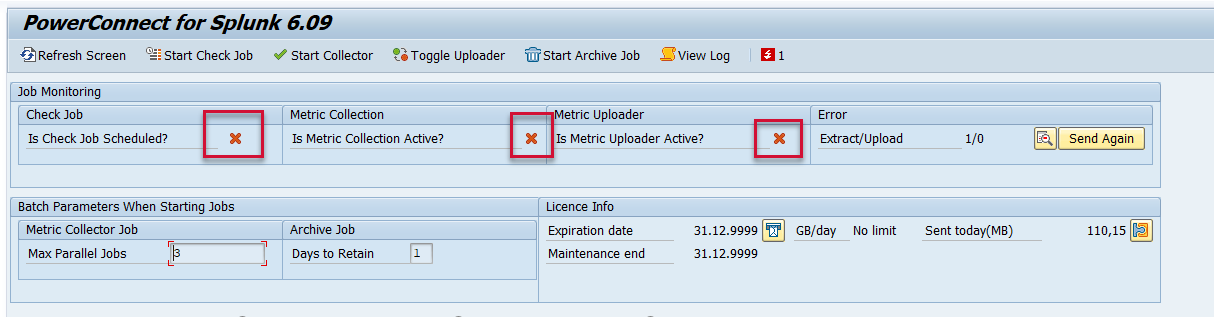
Confirm the PowerConnect batch jobs have stopped
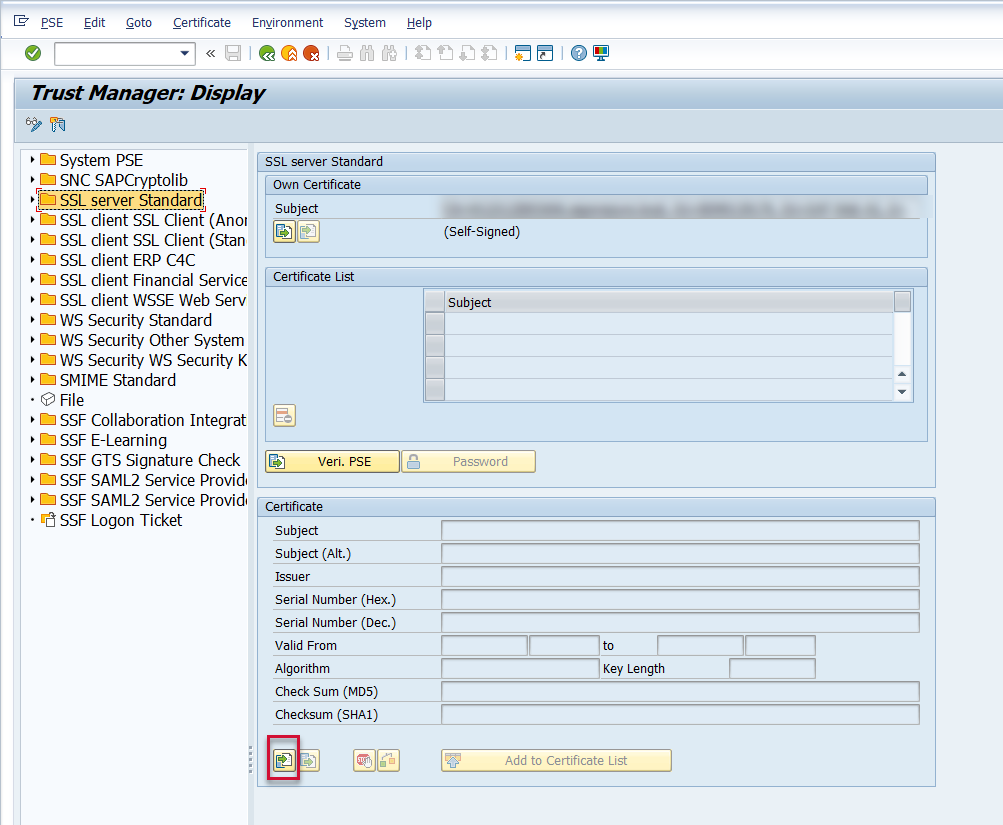
Then go to the STRUST transaction, and click the Display/Change button
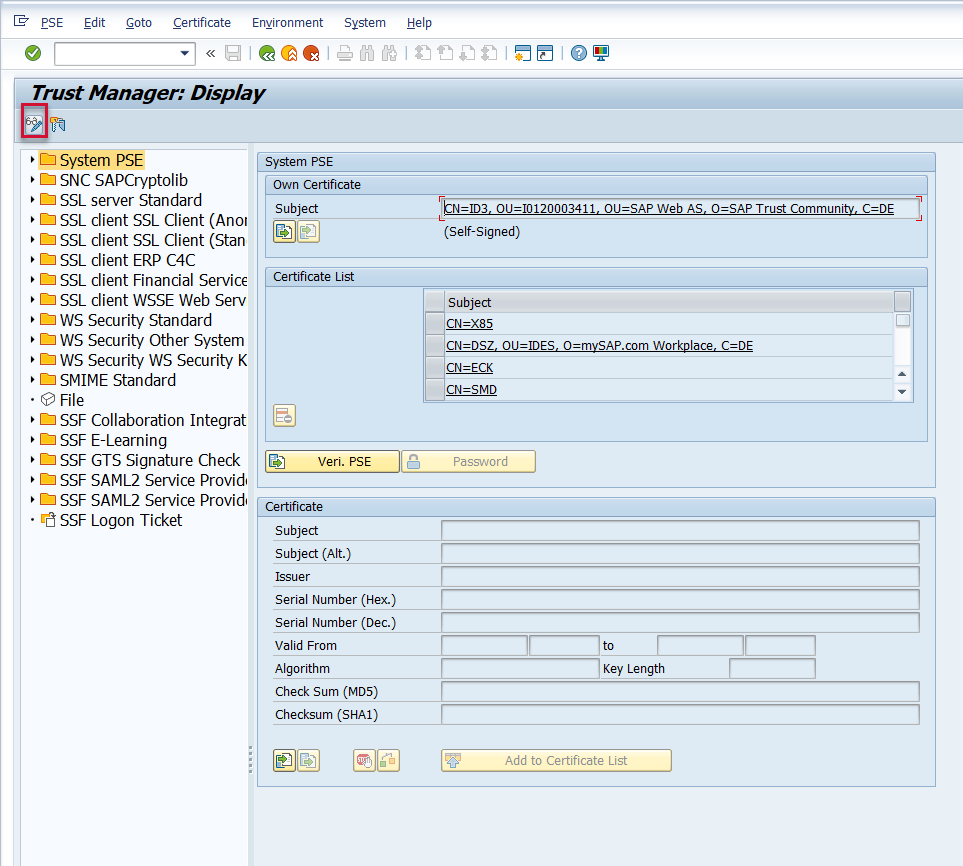
Then click on the SSL Server Standard Node followed by the “Import certificate” button
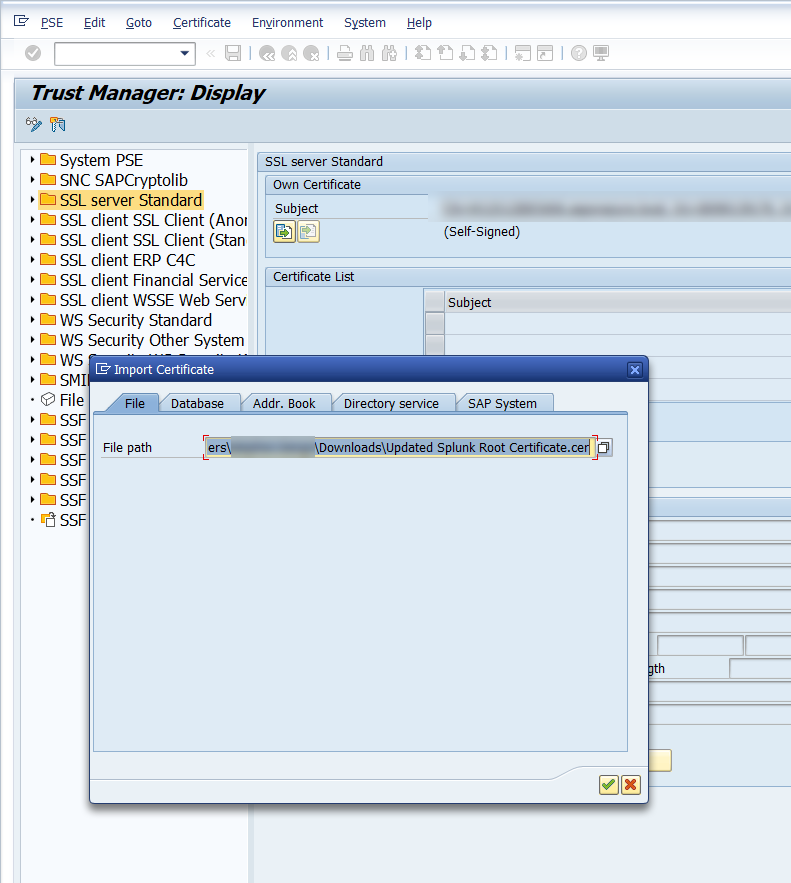
Upload the new certificate from your computer
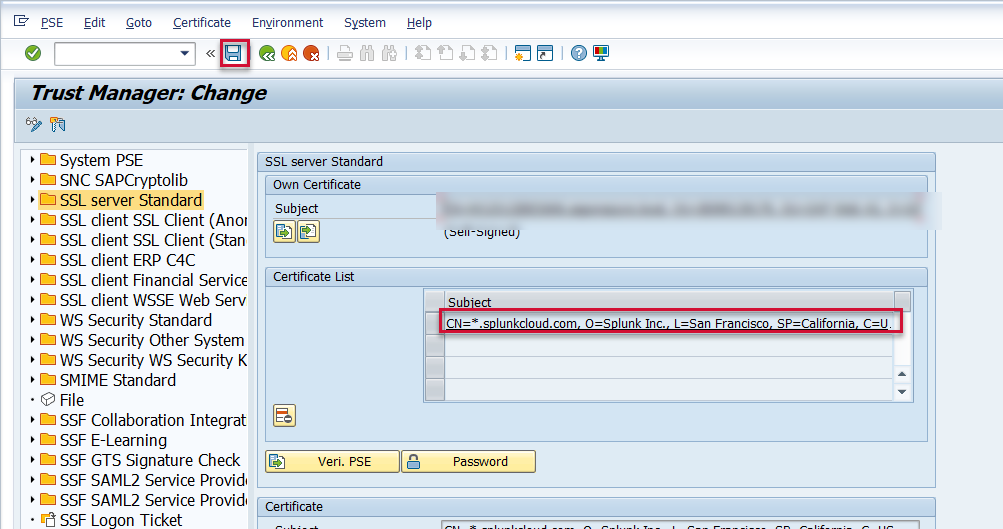
Confirm the CN details and the certificate validity date. Then select the “Add to Certificate List button”

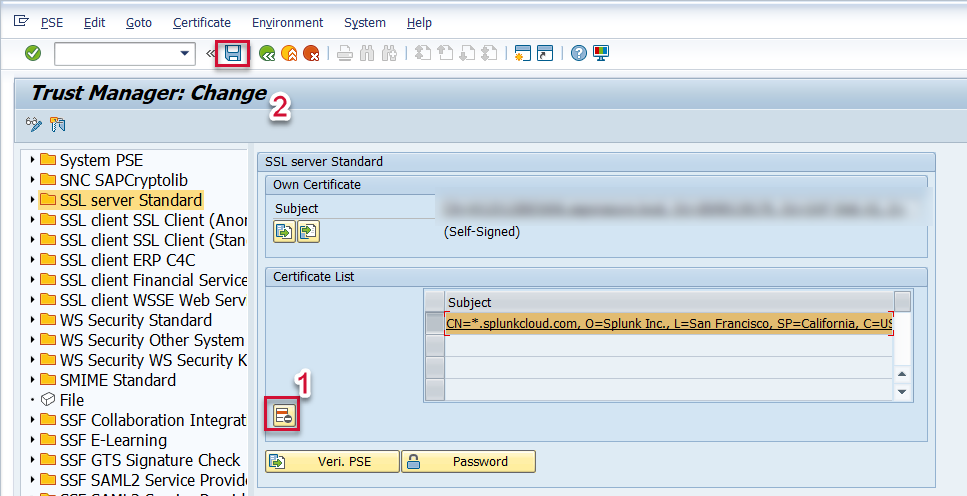
Confirm the certificate was added to the Certificate List and then Save.
Repeat this process for the following nodes:
SSL Client SSL Client (Anonymous)
SSL Client SSL Client (Standard)
Remove the old certificate using the “Delete selected certificate button from each of the nodes and Save.
Then return to the PowerConnect administrative console using the /n/bnwvs/main transaction and go to Administrator → Splunk Setup → Upload Scheme
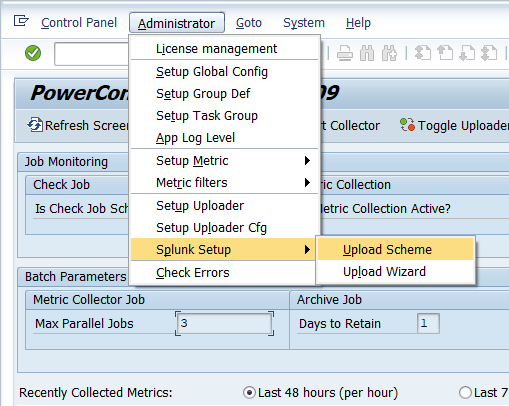
Click on the row that corresponds to the endpoint for which the certificate was updated and then click on the Test button

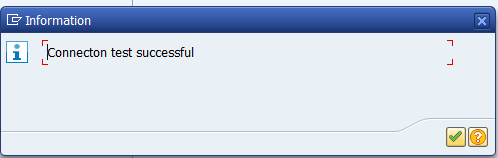
Confirm the connection test was successful. If it is not successful, confirm the correct certificate was updated to the SSL nodes previously mentioned in this document.
Return to the PowerConnect administrative console main page, and then restart the PowerConnect batch jobs using the buttons below
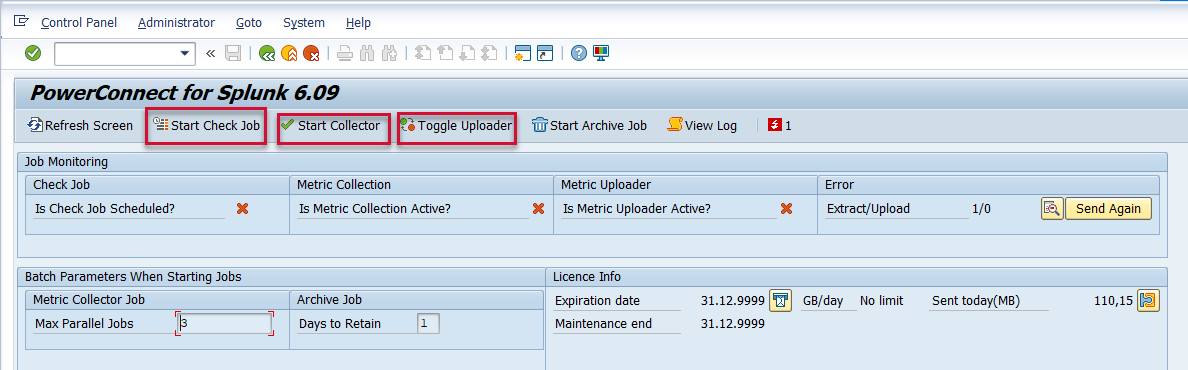
Confirm the PowerConnect batch jobs have restarted.