
SAP SuccessFactors
Overview
SAP SuccessFactors is a cloud based HCM software application that supports core HR and payroll, talent management, HR analytics and workforce planning, and employee experience management.
The PowerConnect SuccessFactors input monitors job executions (scheduled + integrations), employee data replication errors, security audit logs, payroll run results and onboarding events for operational, business analytics and security use cases.
Data Collected
Job metadata - status, attributes, process id, process state, process type
Replication errors - error code, error messages, replication status, replication processing time
OData API audit log
Payroll Run Results
Onboarding Process
APIs Used
https://<api_server>.successfactors.com:443/odata/v2/EMEvent
https://<api_server>.successfactors.com:443/odata/v2/EmployeeDataReplicationConfirmation
https://<api_server>.successfactors.com:443/odata/v2/restricted/ODataApiAudit
https://<api_server>.successfactors.com:443/odata/v2/ONB2Process
https://<api_server>.successfactors.com:443/odata/v2/PayrollSystemConfiguration
https://<api_server>.successfactors.com:443/odata/v2/EmployeePayrollRunResults
Status
Available
Configuration
Creating a SuccessFactors API User
The first step is to create a SuccessFactors API user that the PowerConnect Cloud agent can use to connect to the SuccessFactors API and retrieve data. The instructions to do this are located in the following SAP KB article under the section Create API User account for Successfactors Odata API:
https://userapps.support.sap.com/sap/support/knowledge/en/2956021Make note of the User ID, Company ID and API Server
The next step is to create an OAuth 2.0 token based authentication flow documented here - Oauth2.0 Odata API Token Based authentication and How-To configure and outlined below
Assigning permissions to the SuccessFactors API User
To restrict the access of the API user to only the required APIs perform the following steps:
Login to the SuccessFactors UI
Click 'Admin Center'
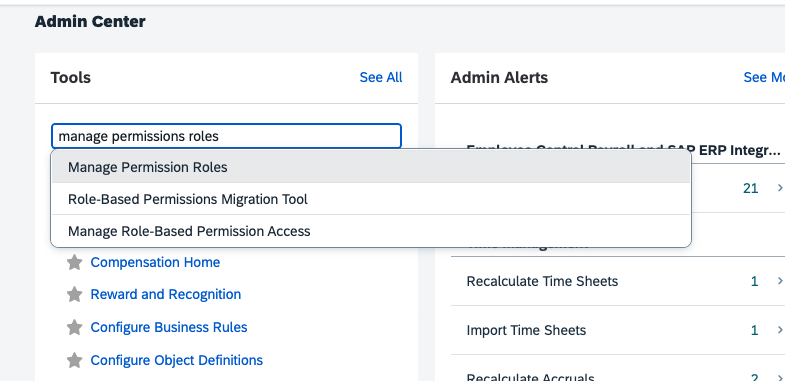
Under Tools search for permissions and click 'Manage Permission Groups'
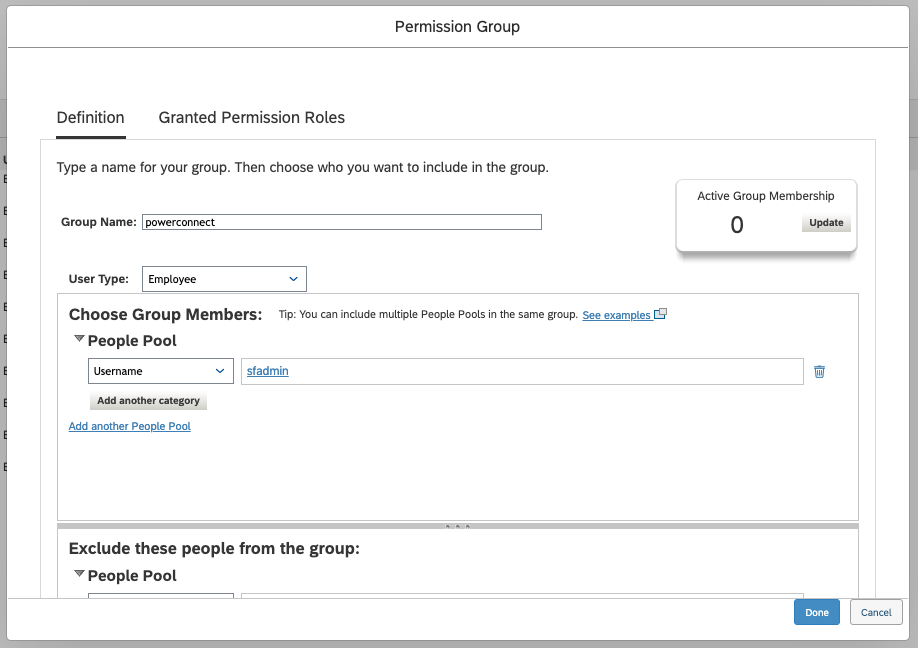
Create a new Group called PowerConnect
Assign the API user to the PowerConnect Group
After creating the group go to 'Manage Permission Roles'
Create a new role called PowerConnect
Add the required roles for each API
For ODATA Audit Log access check ‘Access to OData API Audit Log’

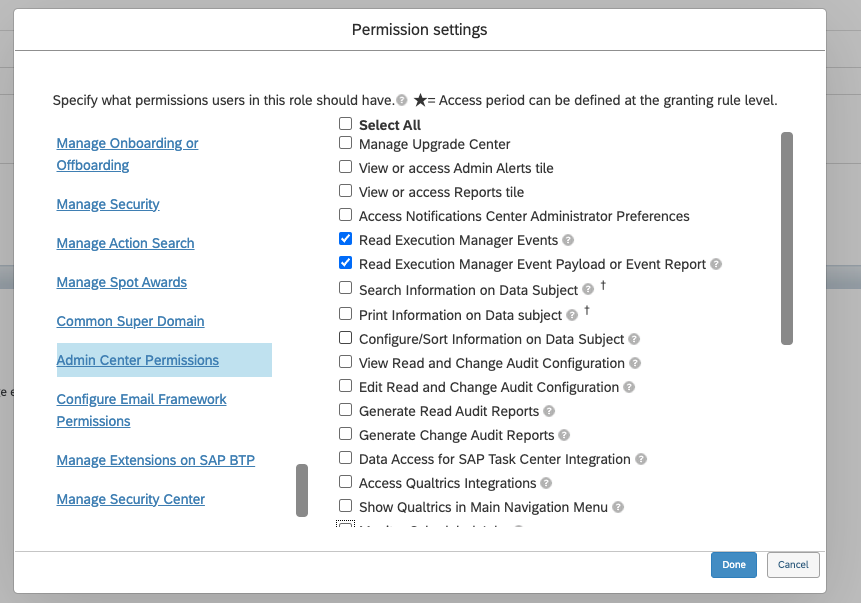
For EMEvent access check ‘Read Execution Manager Events’ and ‘Read Execution Manager Event Payload or Event Report’:
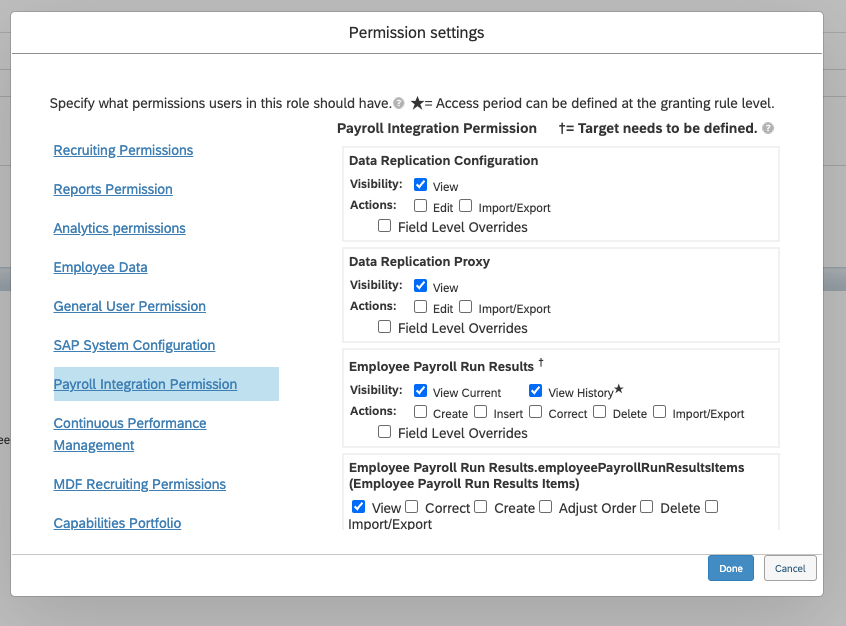
For Payroll related APIs check ‘View - Data Replication Configuration’ ‘View - Data Replication Proxy’ ‘View Current, View History - Employee Payroll Run Results’ ‘View - Employee Payroll Run Results.employeeRunResultsItems’ :
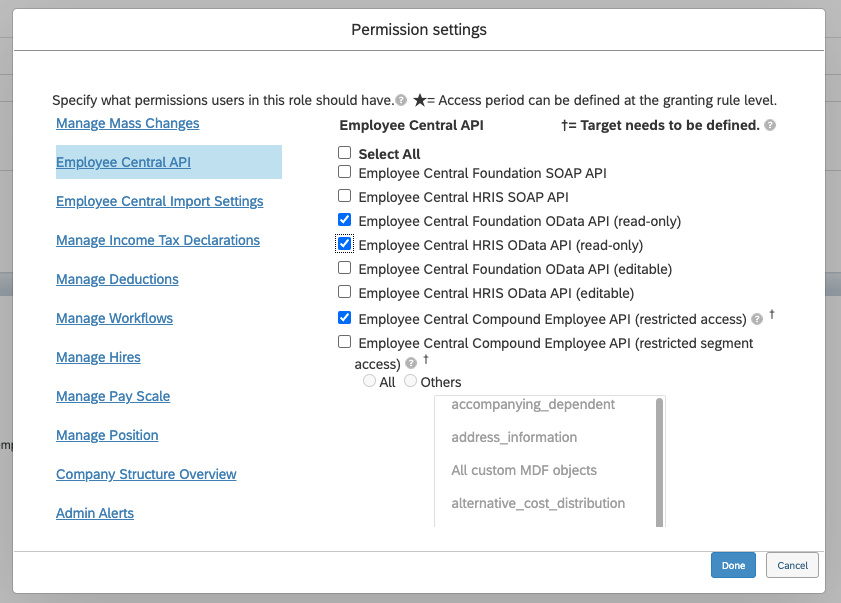
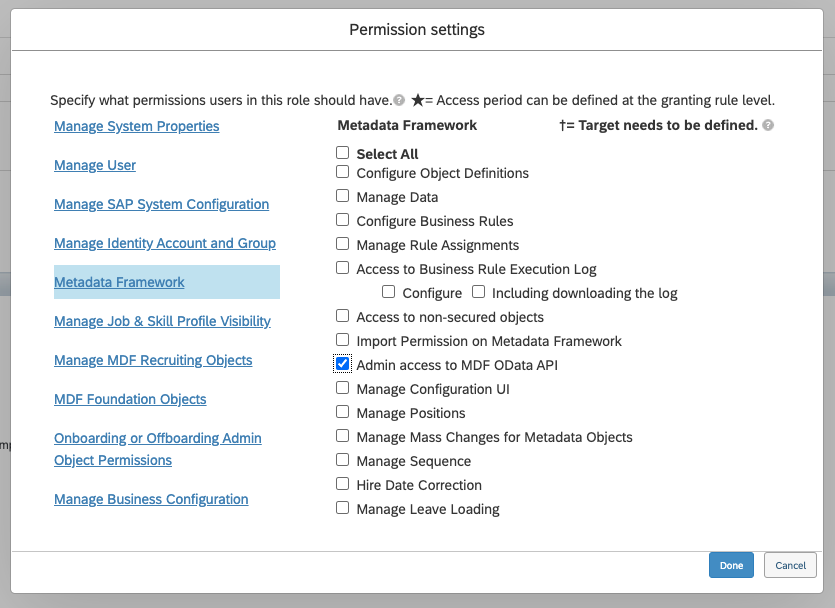
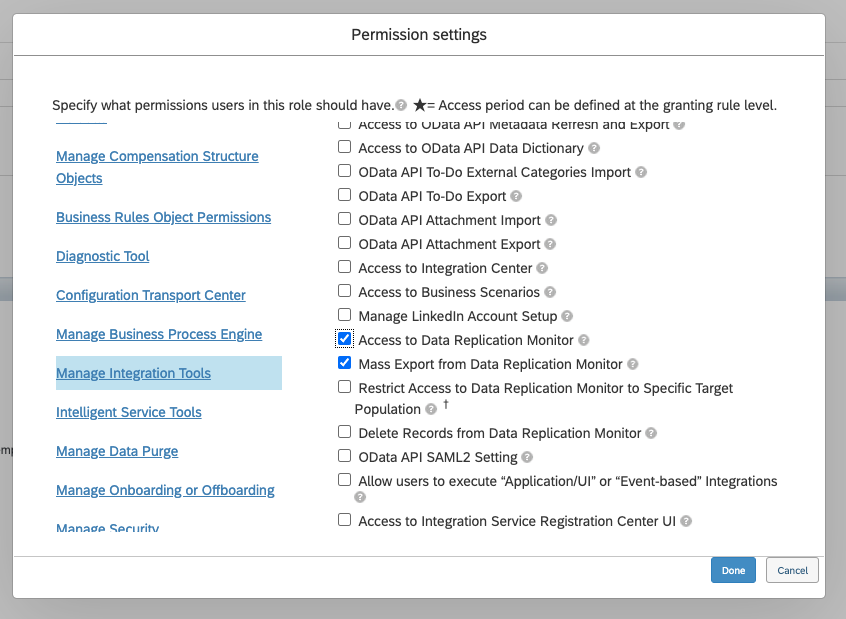
For Replication related APIs check ‘Employee Central Foundation OData API (read-only), Employee Central HRIS OData API (read-only), Employee Central Compound Employee API (restricted access), Admin access to MDF OData API, Access to Data Replication Monitor
Mass Export from Data Replication Monitor’
Click ‘Grant this role to…’
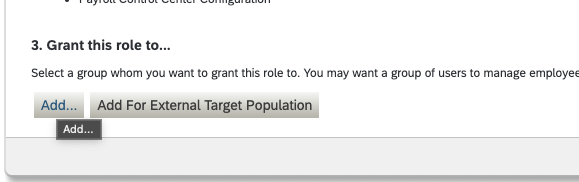
Choose the PowerConnect Group
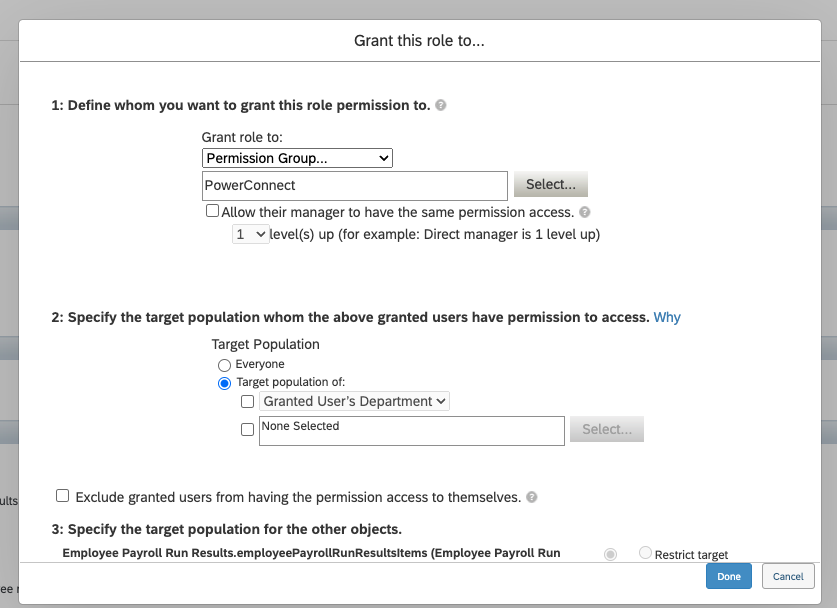
Click 'Done'
Creating an OAuth 2.0 Token flow
Login to the SuccessFactors UI
Click 'Admin Center'
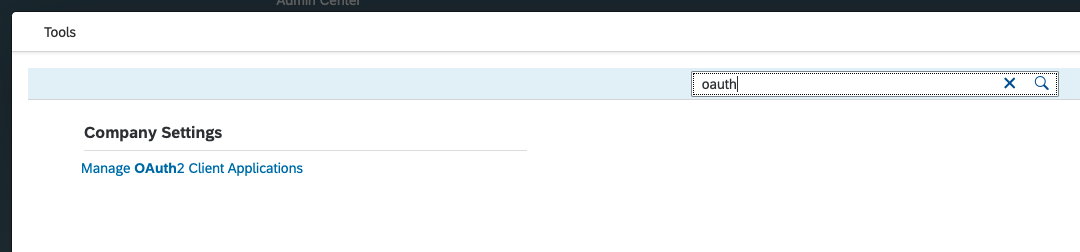
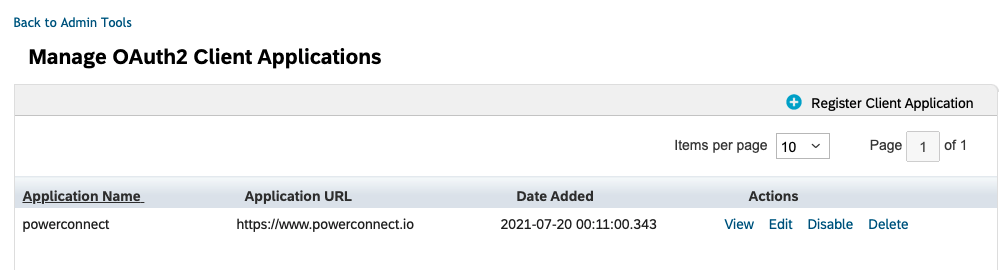
Under Tools search for oauth and click 'Manage OAuth2 Client Applications' > Select 'Register Client Application'
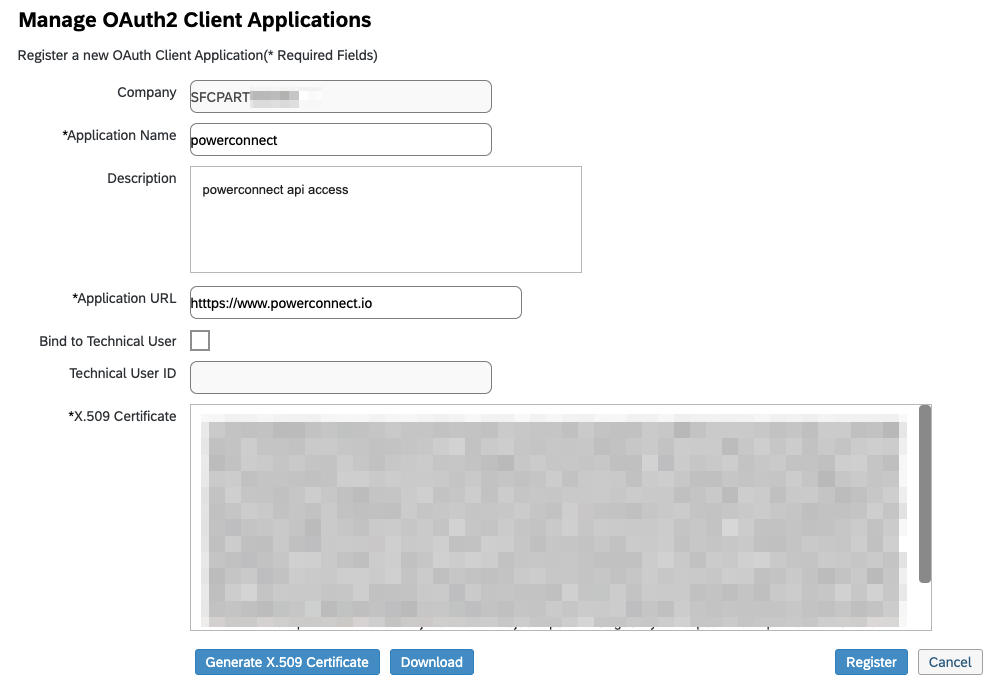
Under Application Name use powerconnect (or some recognisable name)
Under Application URL use any valid url e.g. https://www.powerconnect.io

Optionally tick the Bind to Technical User and enter the api username in the text box (otherwise default is sfadmin)
Click “Generate X.509 Certificate”
Enter the “Common Name (CN)” (e.g. powerconnect). Leave the rest of the fields blank:
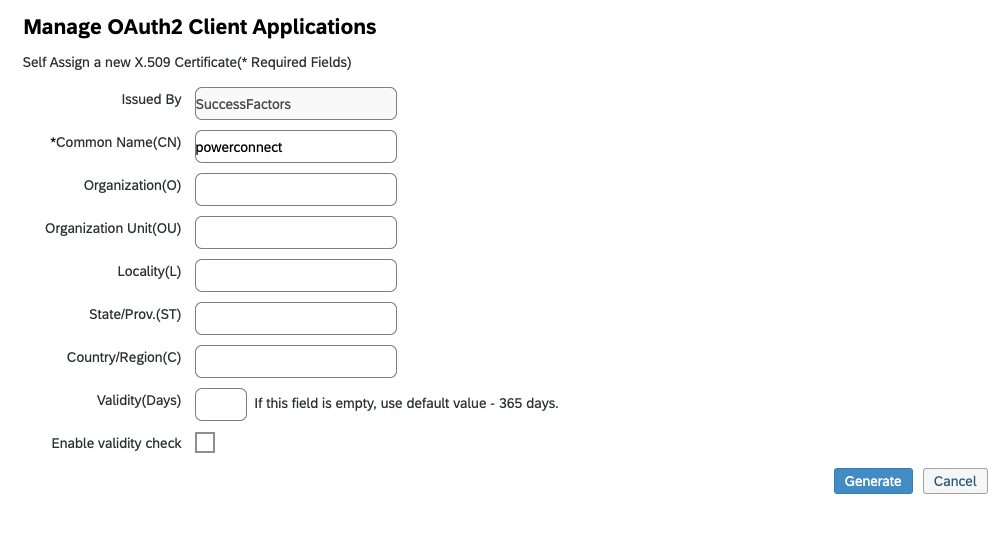
Click Generate. The X.509 Certificate field will now be populated:
Click Download and save a copy of the certificate
Click Register
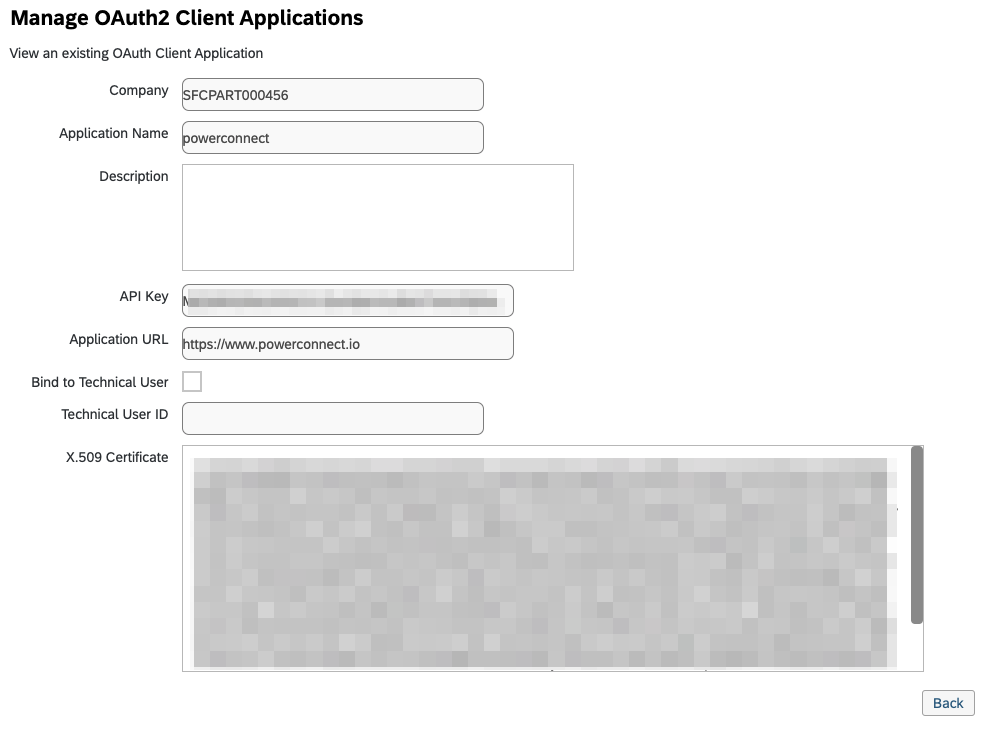
On the newly created Application click View:
Note down the API Key:
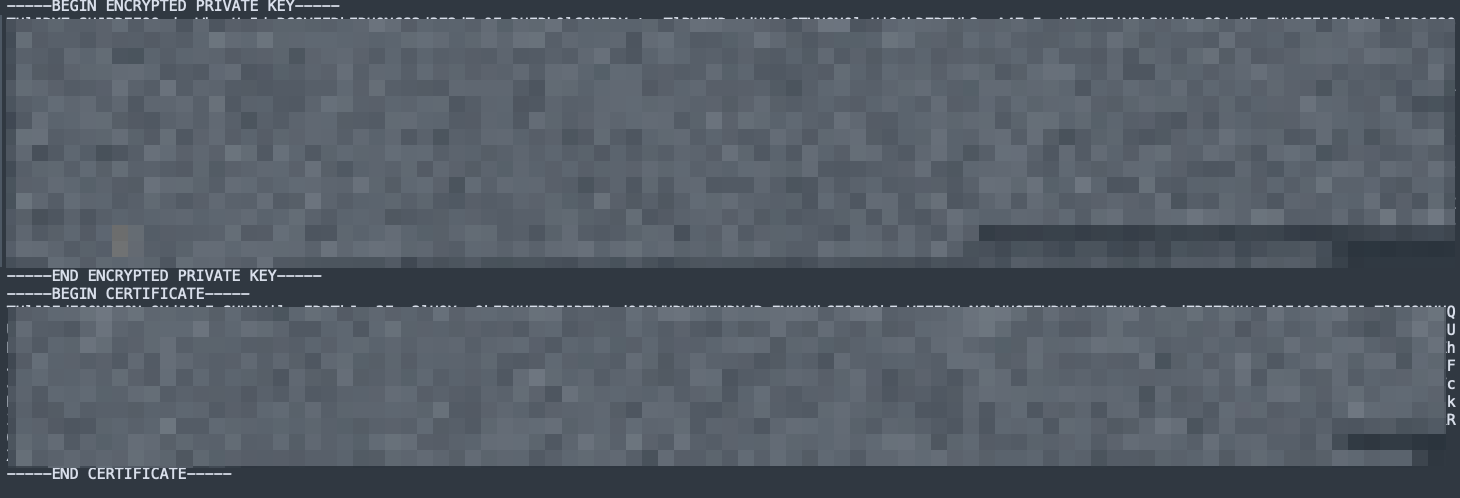
Open the downloaded Certificate.pem file in a text editor and make note of the public certificate and private key (excluding the BEGIN CERTFICATE, END CERTIFICTE, BEGIN ENCRYPTED PRIVATE KEY and END ENCRYPTED PRIVATE KEY lines):
Adding the SuccessFactors Input to PowerConnect Cloud
Login to the PowerConnect Cloud web UI
Click on the Inputs link in the menu bar
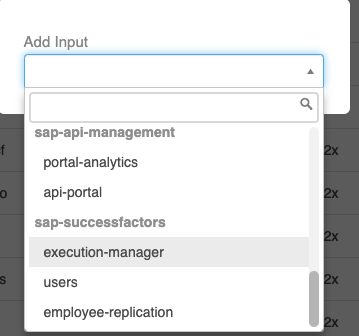
Click the + button to add a new Input
Choose execution-manager under sap-successfactors:
Fill in the form with the details you noted down when creating the powerconnect OAuth client (api server, api key, public key, private key, user id, company id).
Fill in the System ID (this maps to the source field in Splunk and Dynatrace)
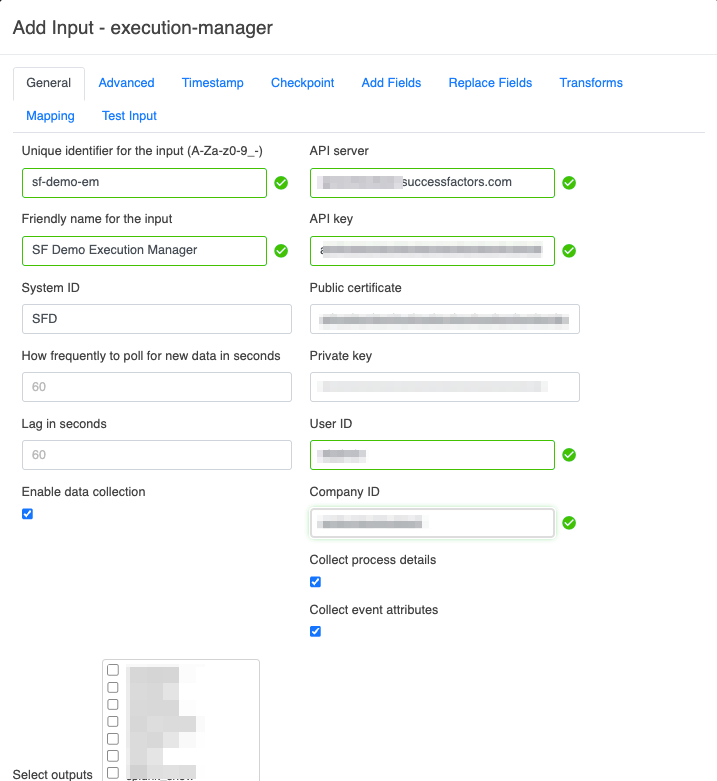
Choose the Output you wish to send the SuccessFactors data to
Click Save
The Input is now created