
Create a Splunk Role
Create a role in Splunk that allows you to access the SAP-specific index previously created.
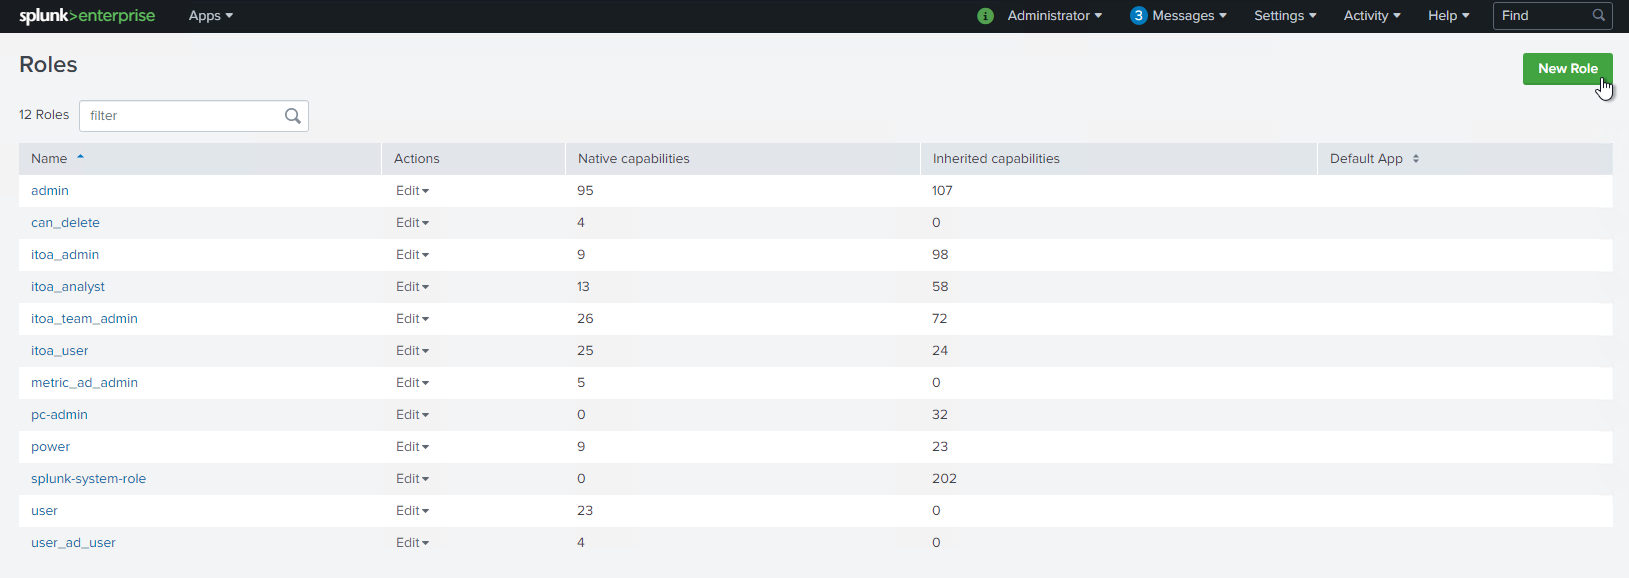
Click on “Settings” and on “Roles”.

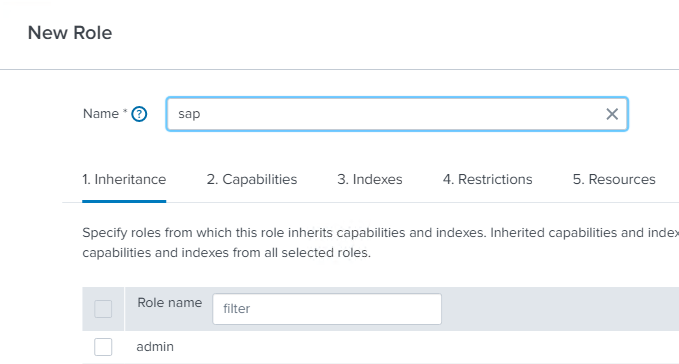
Create a new role by clicking on “New Role”.
Provide a name that fits to its usage, in this case we chose “sap”.
In the following sections leave the default settings.
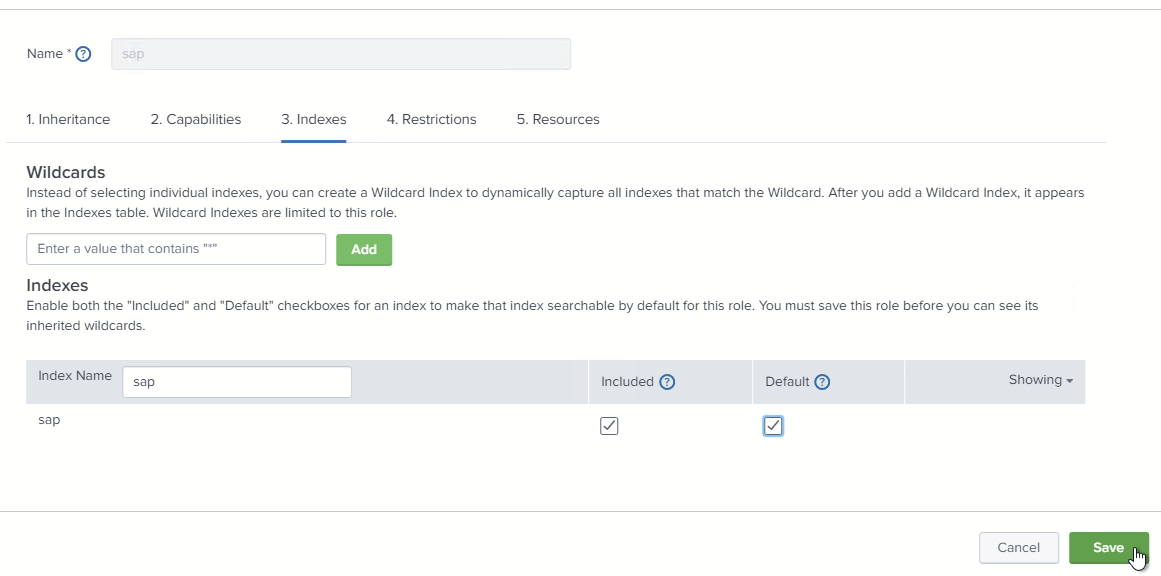
Assign the index created before.
Make the role “included” and “default”.
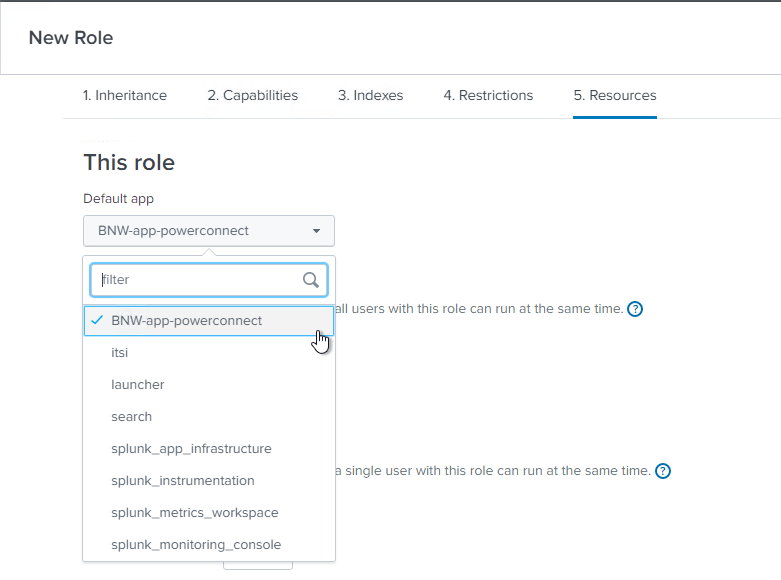
Assign the role to the PowerConnect App.
“Save” the role.
Next step would be to create an access user which makes use of the role created. If you already have a user that can inherit the role, you can skip this step and continue with installing the PowerConnect program in SAP AS ABAP or S/4HANA or SAP AS Java.